
This mug says it all….so hey! If you are new around here thank you for stopping in! I hope everyone is doing well.

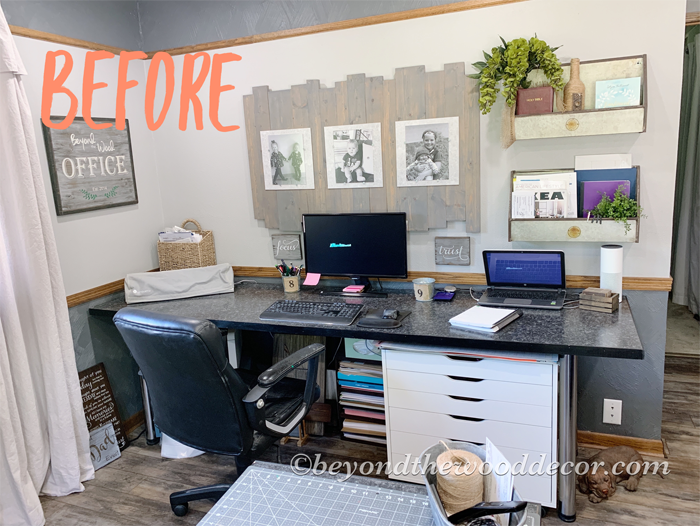
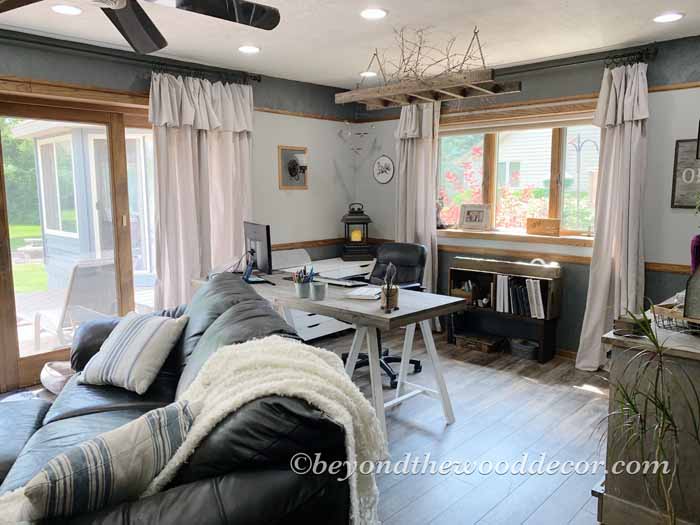
I am so excited to share my new desk I made for my studio. Remember last month I shared this post about our office makeover? Well I loved that desk so much I really wanted a new desk for my studio in the back of the house.
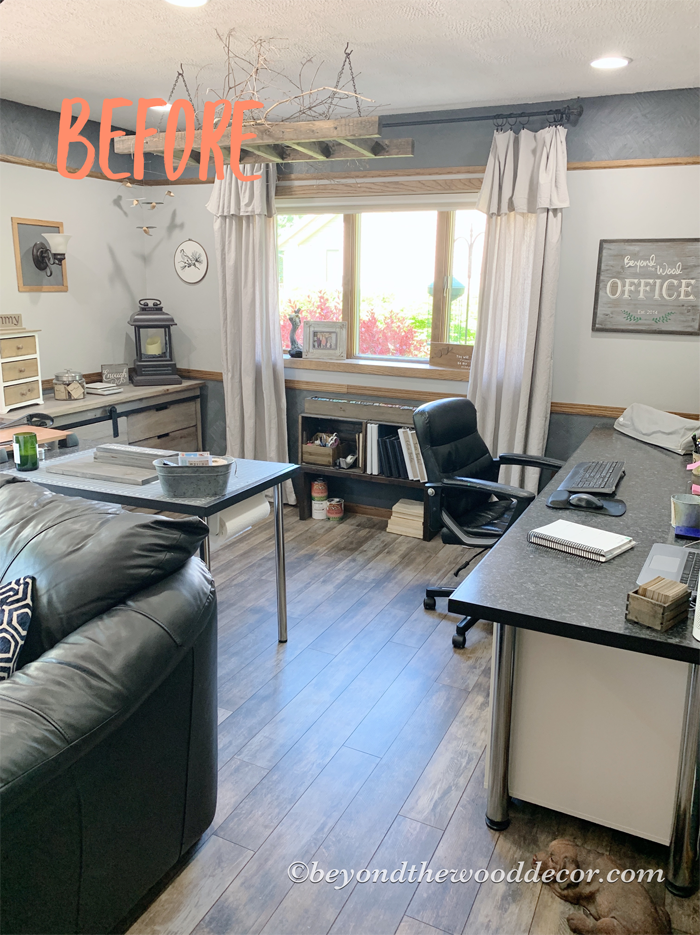
If you remember I have had these 2 big laminate tables in my studio for years. I use to have 3 but last year I downgraded to 2. This girl needed a change and wanted wood! I mean I am the wood girl so clearly I need a wood desk right?! But building something from scratch was also not in the cards.
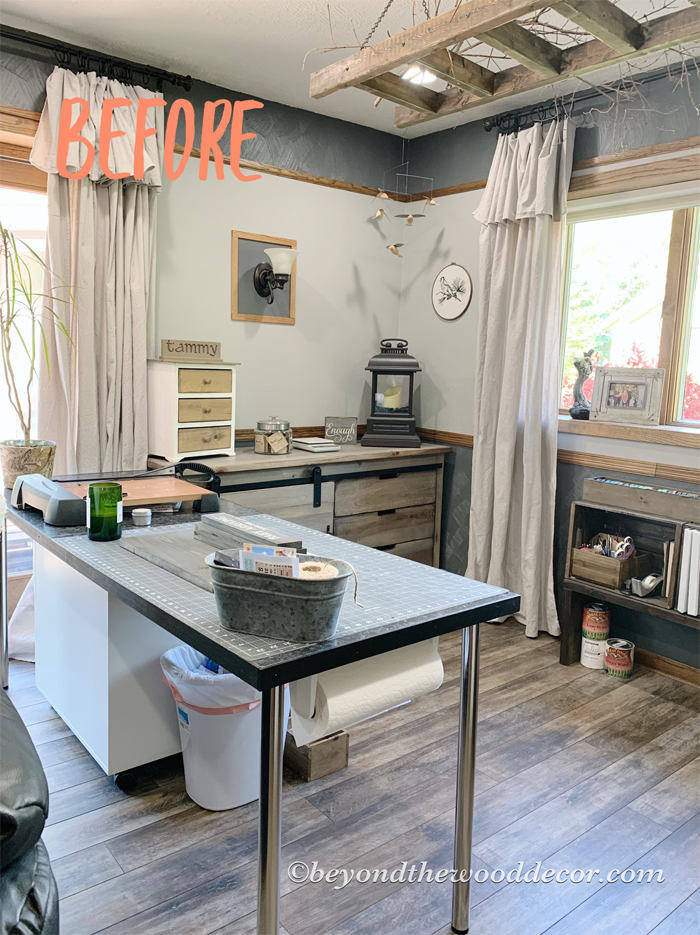
Many months ago I was deciding what I was going to do and browsing through Ikeas website it hit me. They had these saw horses on sale for $12. Yup what a steal, hey. Regular price is only $15 so you cannot go wrong. The dimensions were perfect and all I had to do was make a top for them.
I was so excited to get rid of these tables so I headed to Ikea. Picked up some saw horses and oh my goodness I am so in love with my new desk!
This is how simple it was to make
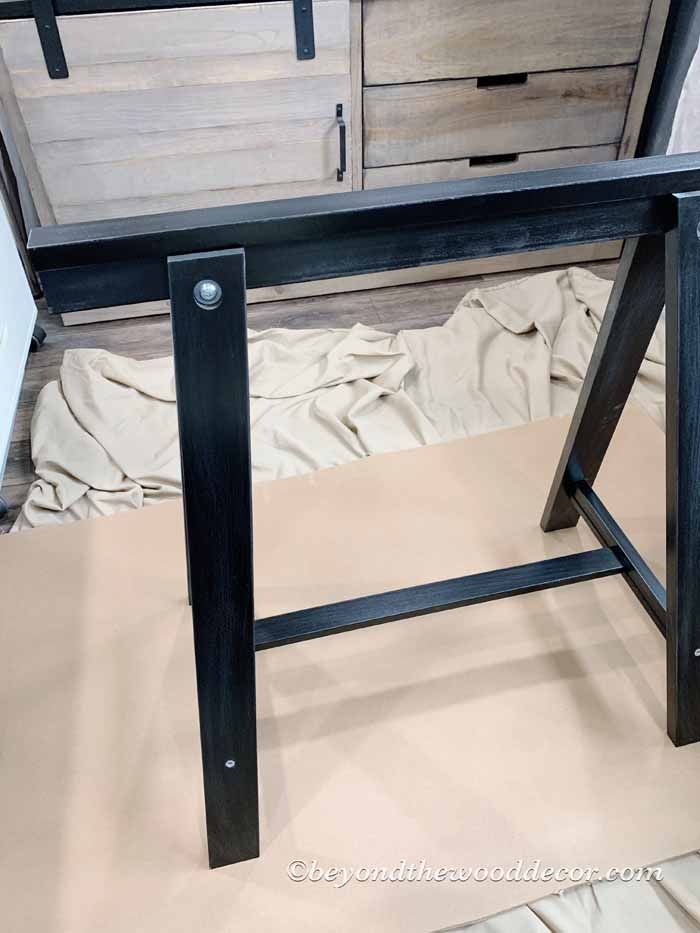
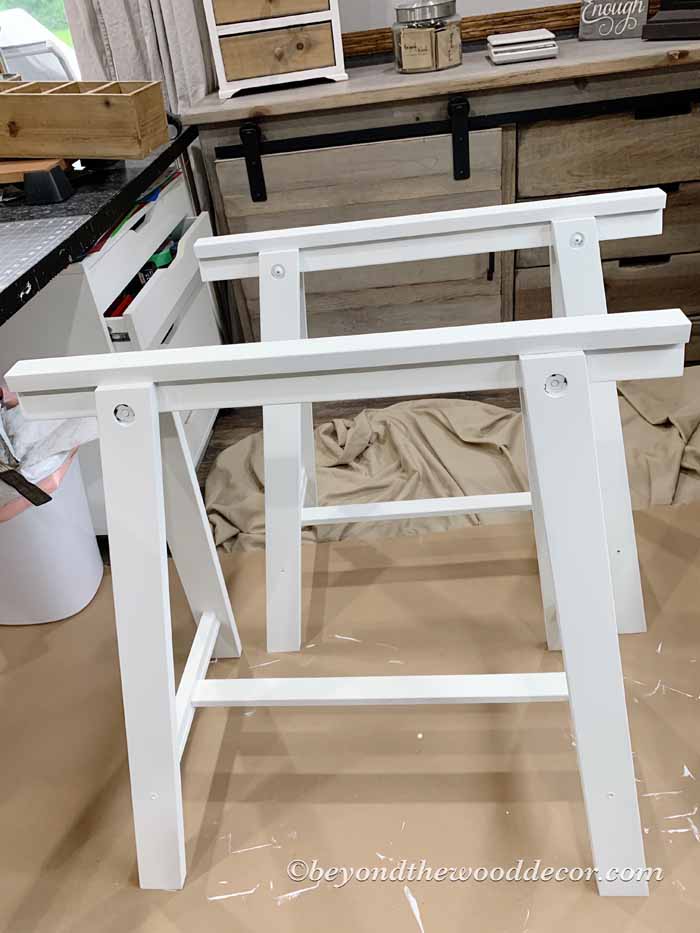
First off the saw horses come in black only. But I wanted white so I made my own chalk paint with some white paint I already had and just painted them. Normally I would do this out in my shop but it is not air conditioned out there so I just threw a tarp and cardboard down in my studio and did it there.
I first scuffed them up a bit with some sandpaper but with chalk paint you don’t even have to do that. That’s the great think about chalk paint it can go directly over many surfaces such as metal, wood, plastic, etc with no sanding.
How to make chalk paint
It is so simple and I have had the best of luck with doing it this way. I buy this calcium carbonate from Amazon, Then all you need is a quart of any color of flat latex paint and warm water.
First scoop out 12-14 tablespoons of the calcium carbonate and put in a dish. Next slowly add warm water to that until you have a more goopy texture rather than runny. My guess is about 3-4 tablespoons of warm water. But like I said just add slowly until you get that texture. Then pour that into the flat latex paint and stir well.
That seriously is it. You now have chalk paint. Most projects will not use a whole quart so you certainly can save it for another project. Just be sure if it sits for a few weeks the calcium carbonate may settle to the bottom so just stir it up real well again.
I always apply with a good brush. I love these Purdy brushes as they leave very little brush marks. These black saw horses did take a few coats to cover but I wasn’t picky because I was going to distress them anyway.

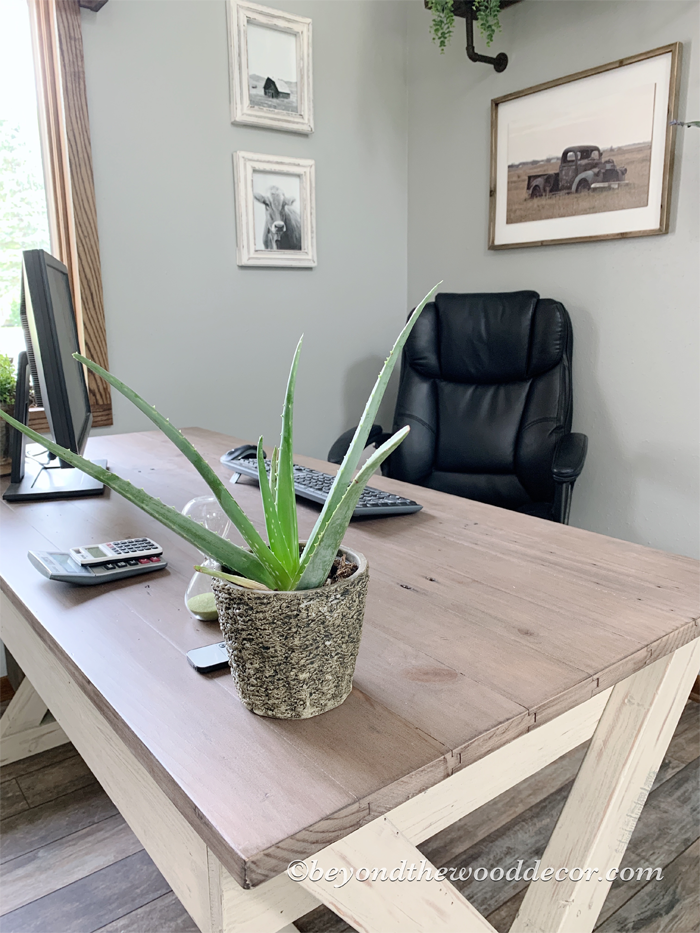
While those were drying I headed to the shop and cut my 1 x 6 pine boards to the size of desktop that I wanted which was 5ft. I used 5 of them which gave me the depth of 27.5″ which is what would clear the saw horses.
Next I just sat down and stained them and let them dry.

Once they were all dry I took them in the house and laid them on my kitchen table because that was a big surface for me to add the boards that connected them all together. I first clamped them all so they would be pushed together really tight. You certainly can glue them as well but I did not care about a small gap if there would be one since it was a desk. So I did not glue them together.
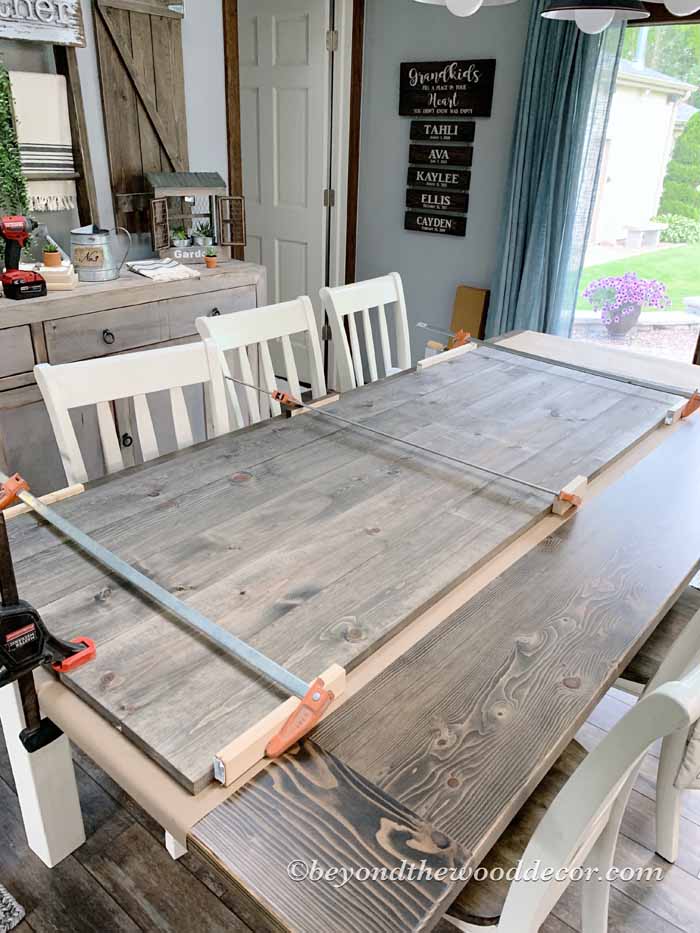
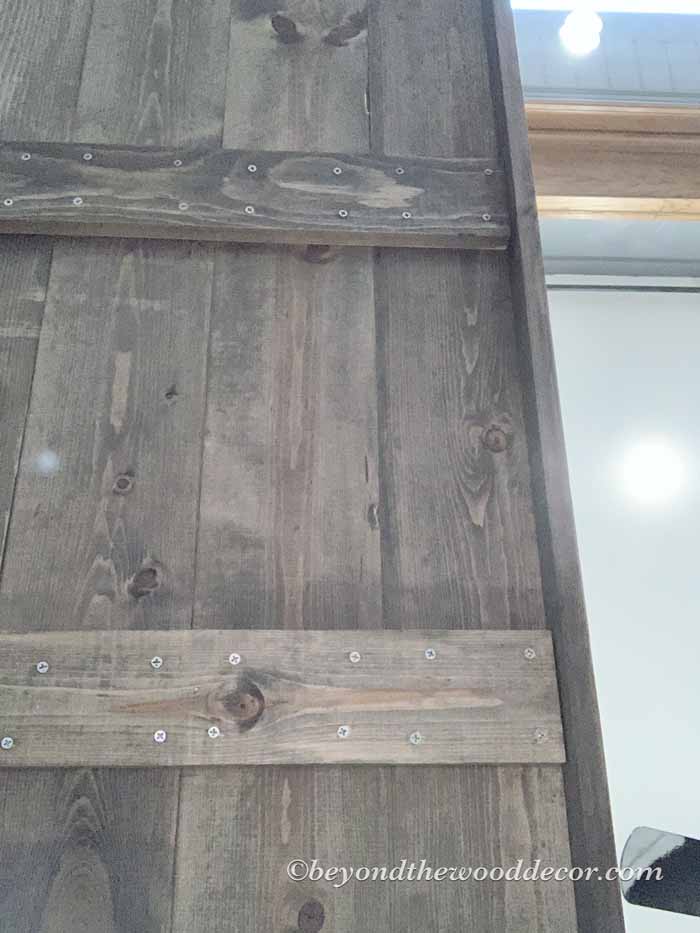
I then cut (6) 1 x 4’s, 25.75 inches long because I knew I wanted to put a trim piece on so I did not want the full depth of the desk. Basically I laid my saw horses on top so I would know where not to put the connector boards.
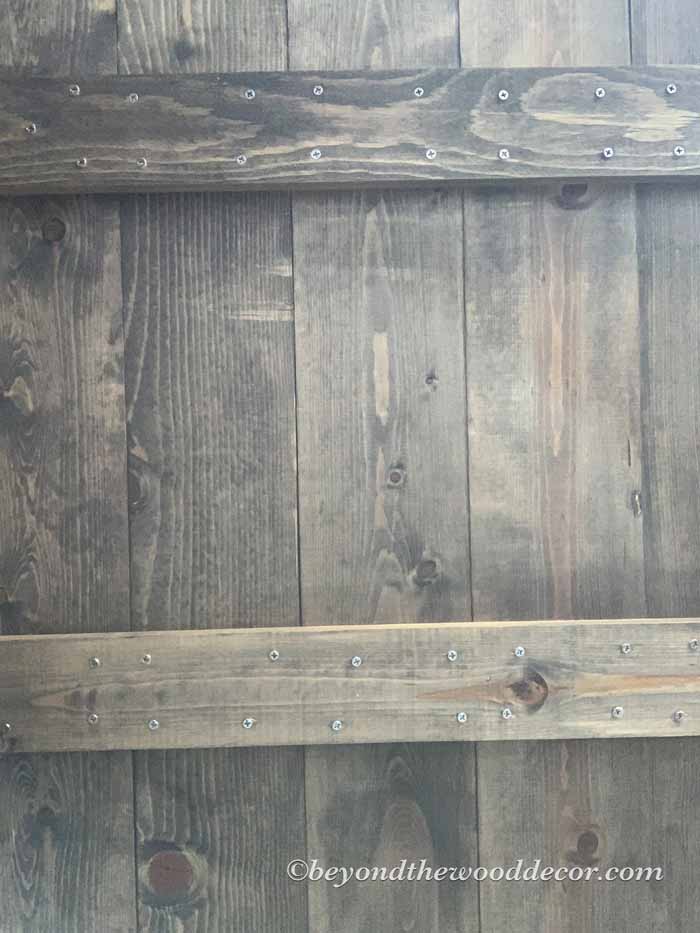
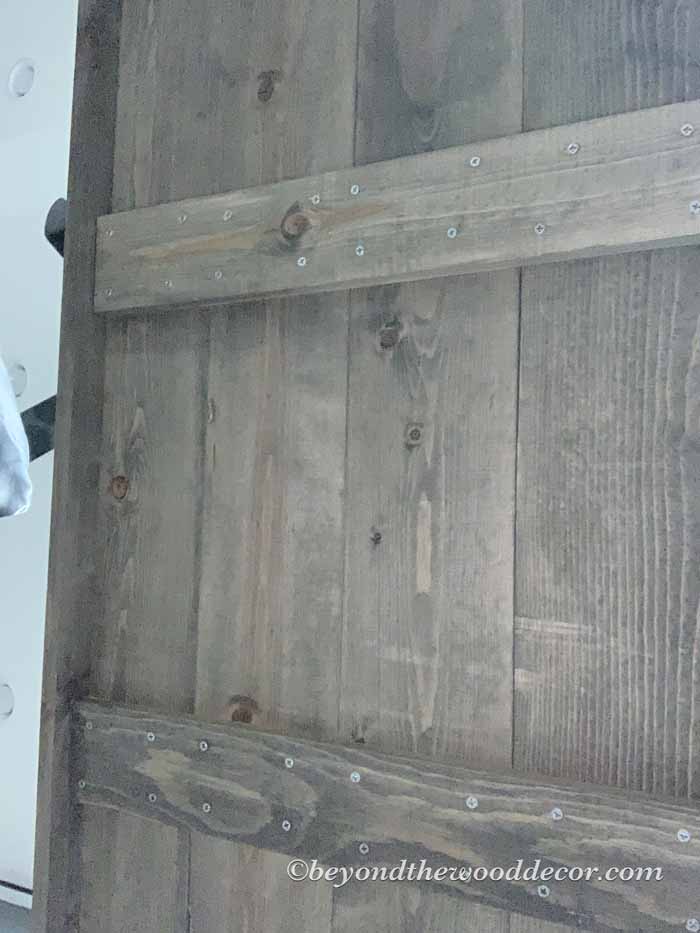
I then used some wood glue and a ton of screws to hold them in place. Here is a closeup of what it looked like. Kinda screw happy, right?! lol
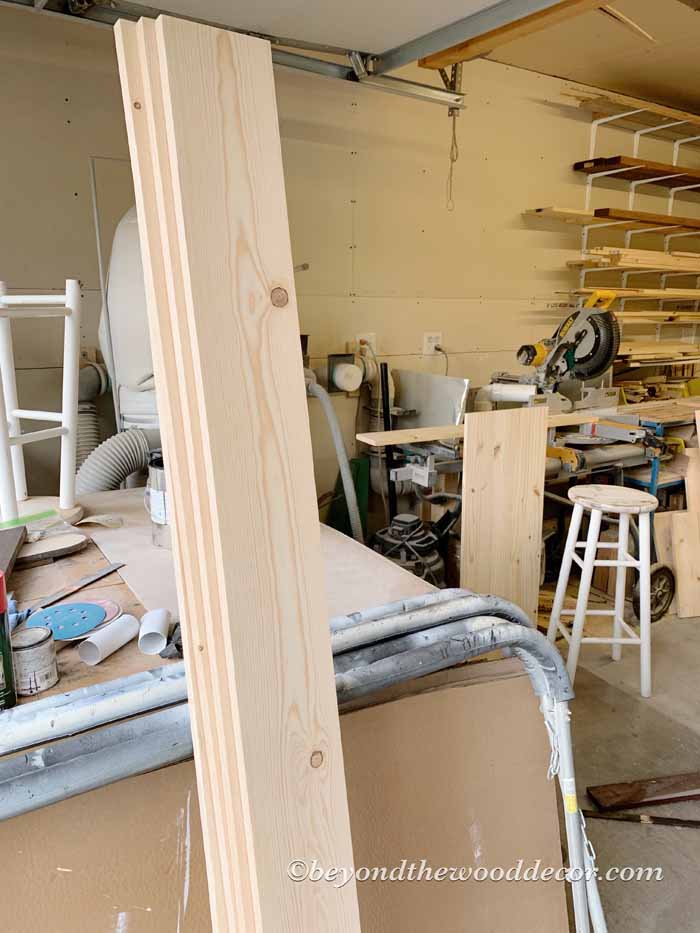
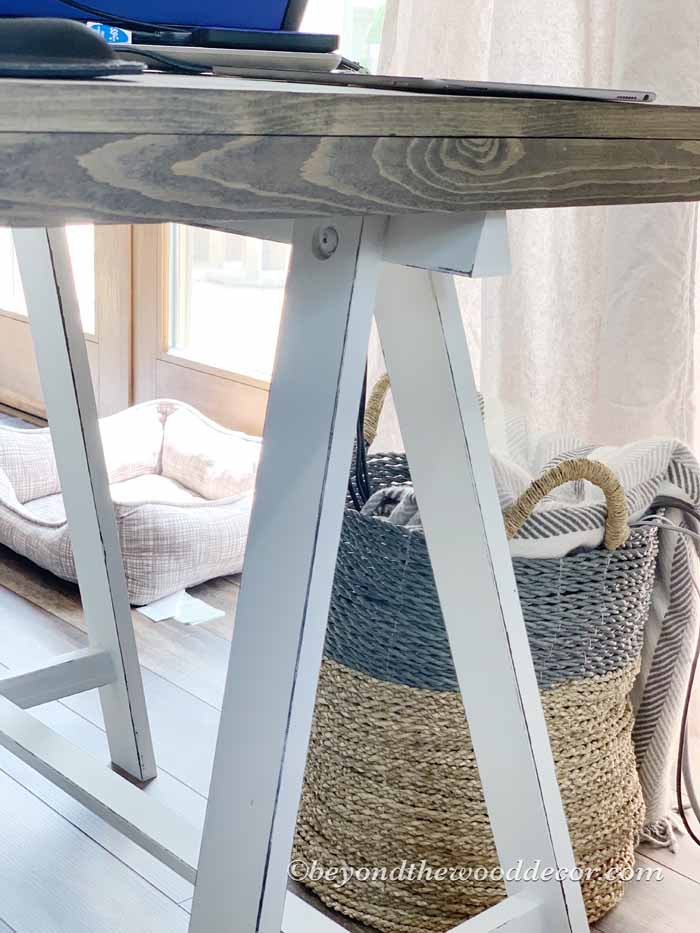
To finish off the edges I used 1 x 2 boards and just cut to fit all the way around. I glued them on and used brad nails in areas that it budded up to the 1 x 4’s.
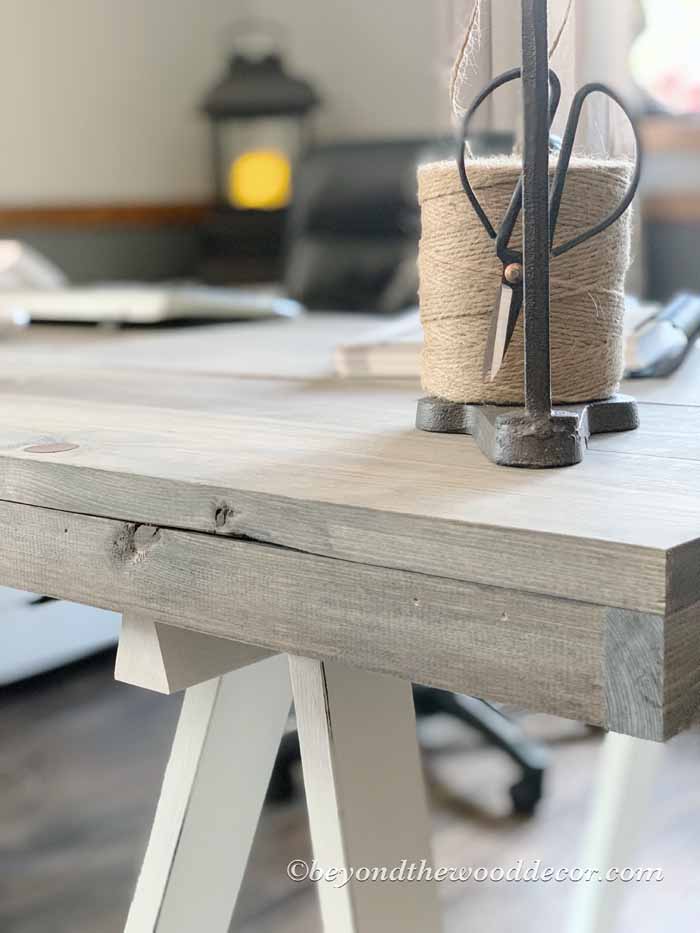
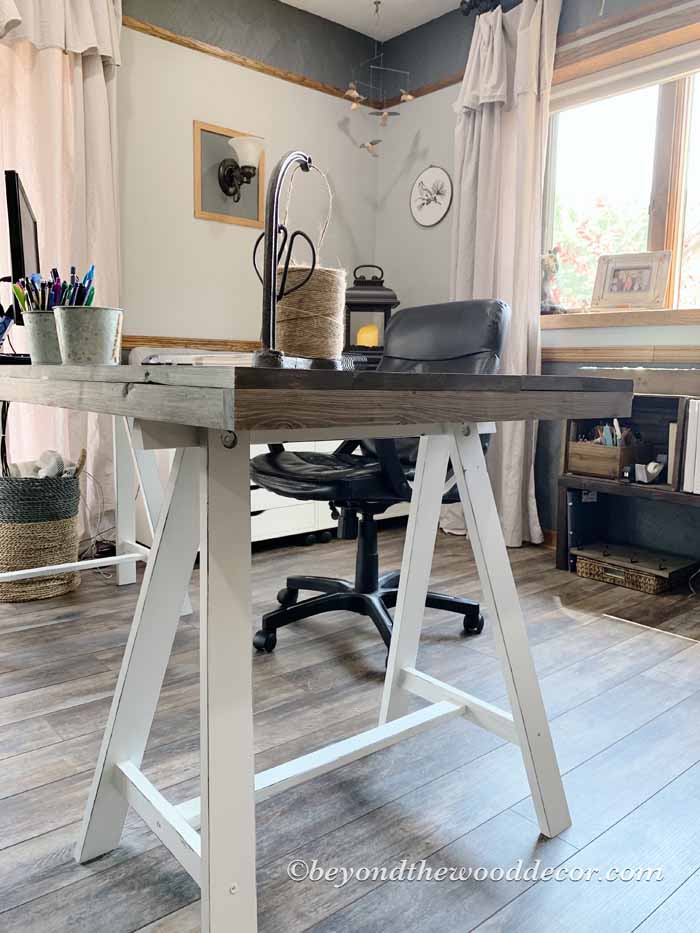
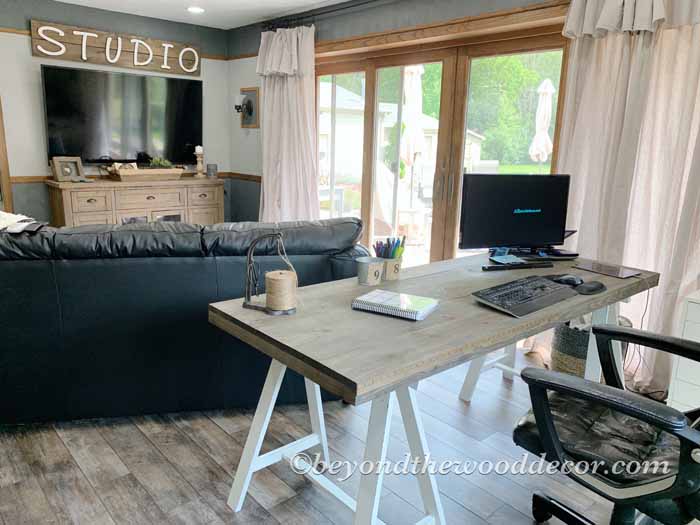
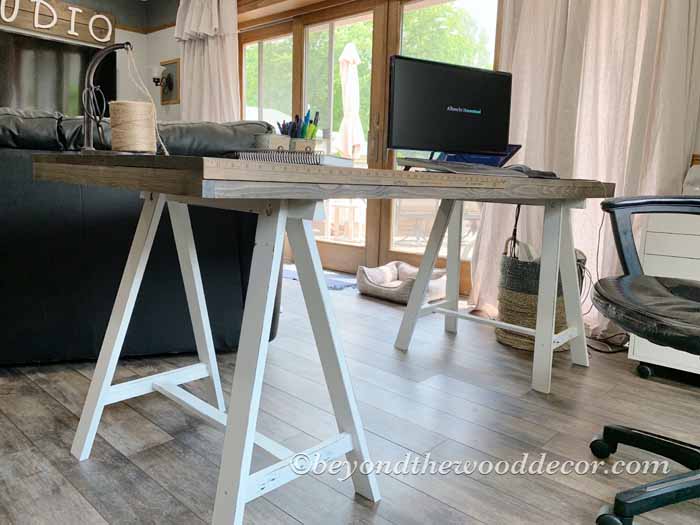
Lastly, hubs screwed the saw horses onto the bottom and bam….flipped that baby over and it was done. I did not even clear coat it because I figured the more dings and scratches it gets the more character it gives it and I love me some character!
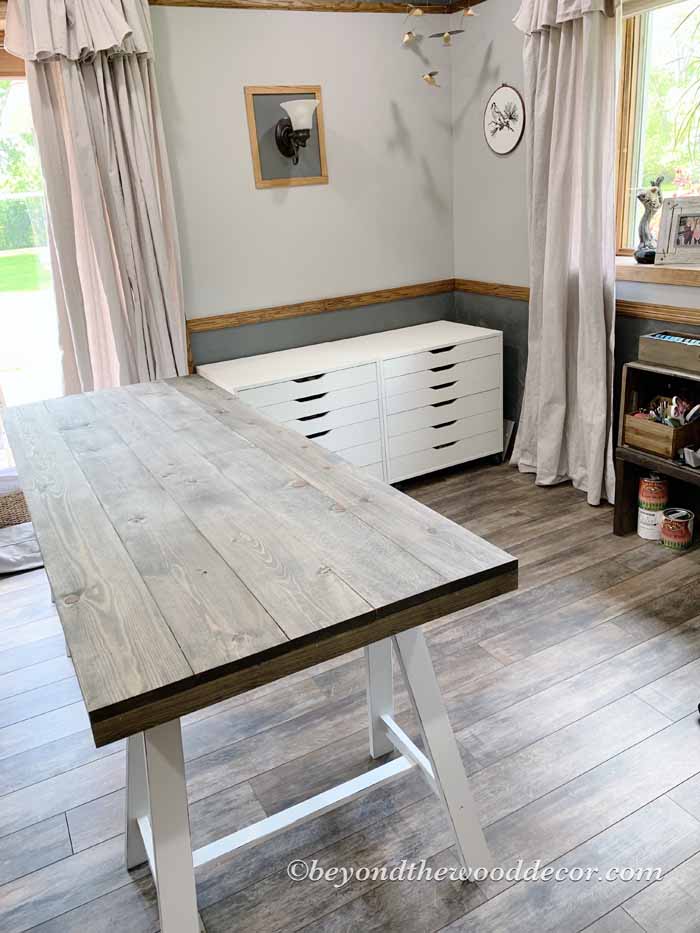
I really love how it turned out and it was so simple and fast. No more laminate tables in my studio so that makes me happy!.

Of course I did end up distressing the saw horses because I love things distressed and knew the black underneath would look so good.
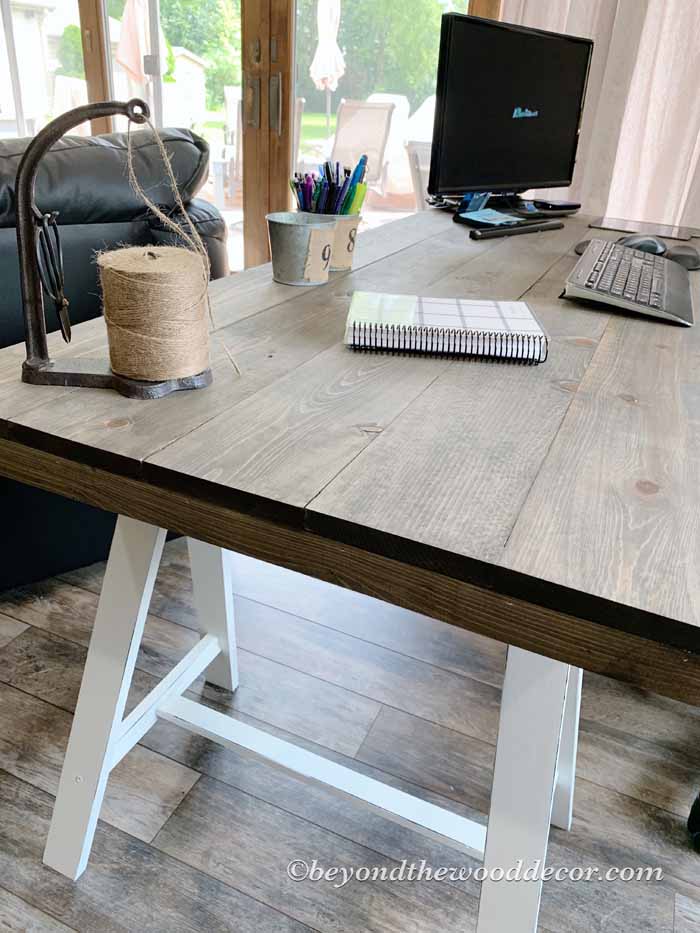
I also stained a yard stick and nailed that on the edge because it is so convenient for me when installing hardware on signs. Or measuring out twine or ribbon or whatever.

I hope you enjoyed this simple DIY. Such an advantage doing it yourself is having it made to the size that fits your space and the exact stain or paint you want. Certainly a win win situation, right!
Thanks for hanging out with me today. I would love to hear what you think about my desk.
xoxoxo


Oh Tammy, this is so cute! My son needs a desk for his room and this will be perfect. Thank you so much for the idea and sharing your talents.
Thank you Natalie, it sure is a great desk for any room. With a little time and work it is a good starter DIY. Good luck if you make one. 🙂
What a great idea. I need a new desk and I love this one with the saw horses. I think my husband could totally make that. Thanks for sharing and it gives me another reason to go to Ikea! I love that store.
Thank you Andrea! Oh I totally agree, ikea is awesome. Good luck if you make it. 😊