
DIY Pumpkins!
Good Morning friends. Today, I have a really simple and yet so cute DIY project for you just in time for pumpkin season!
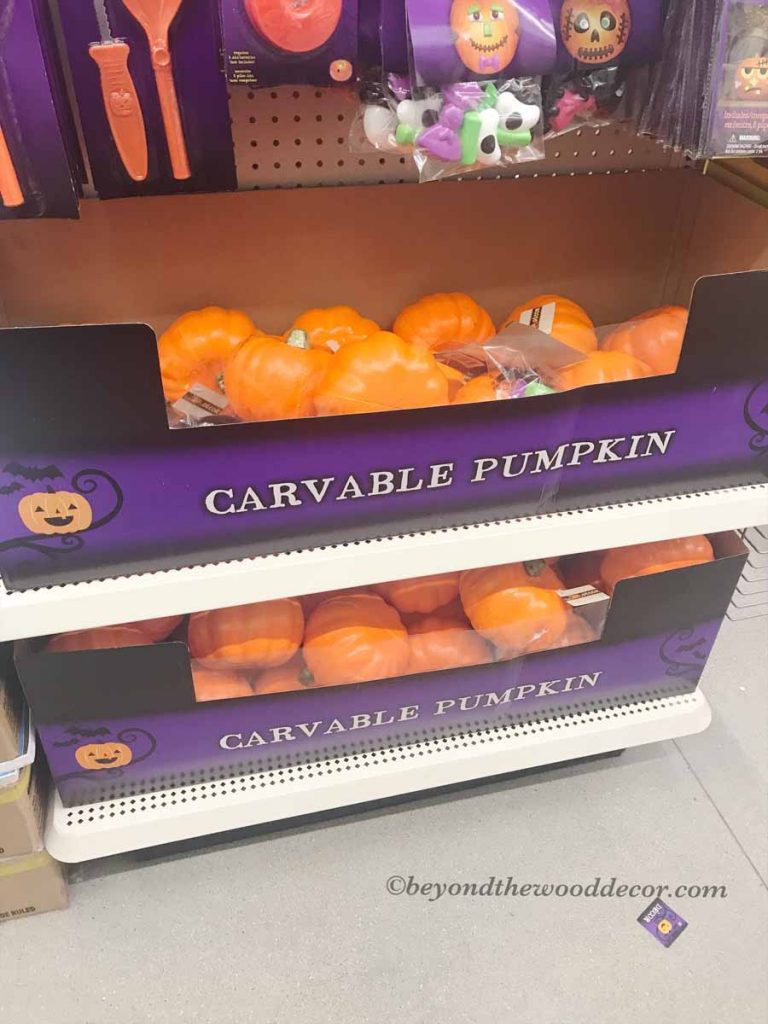
Last weekend I was at the Dollar Tree because you know me always decorating on a budget. I went to check out what they had for fall decor in hopes I could find something to craft with. SCORE…..look at these pumpkins!
For those of you that know me I am NOT a fan of bright orange pumpkins. They are cute for some people but plain jane neutral me needs much softer colored pumpkins.
SOOOOO when I seen these and they say carvable I was intrigued with them and had to get a few. My creative juices started flowing and I knew I could make them to my farmhouse rustic liking and this is what I did.
Lets get busy!
I started off with ripping off the little stem from the top because I knew I would not be using that little stub, lol.
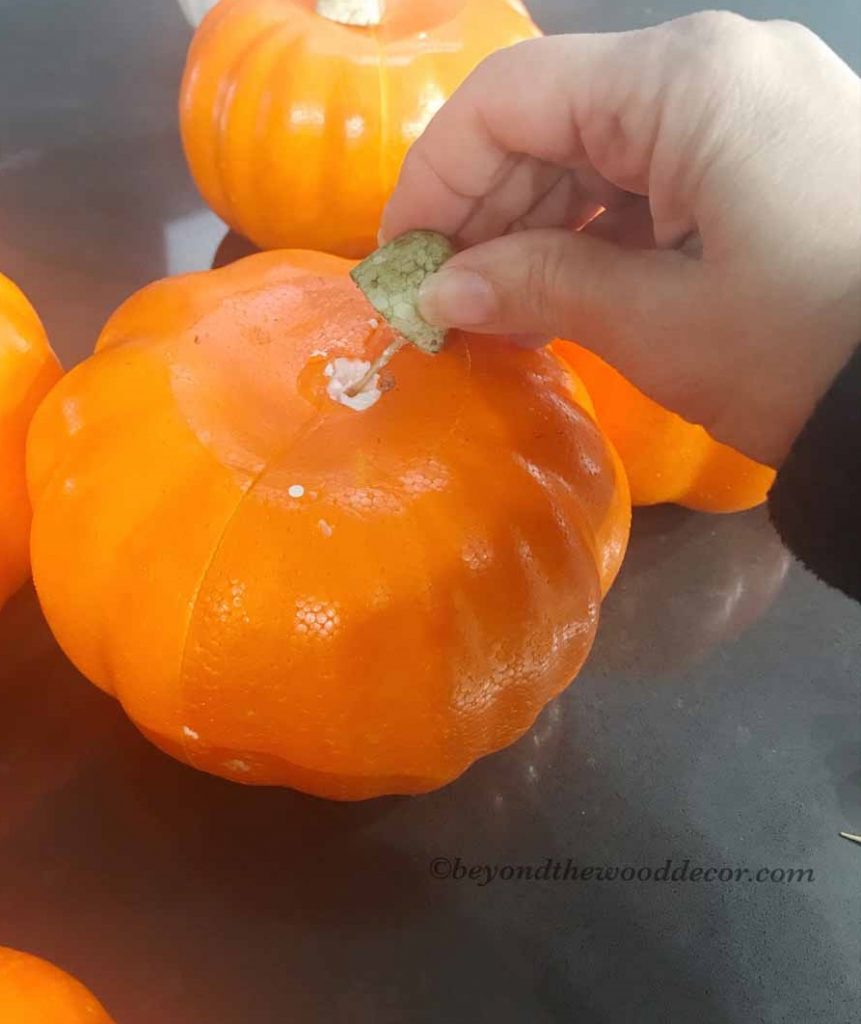
Now I could see when they say carvable they are hollow styrofoam…interesting! Once I got the stems all pulled off I headed to the shop to spray them white. I decided to go with spray paint because I am very impatient and doing each one by hand with regular paint is just to slow for me, lol.
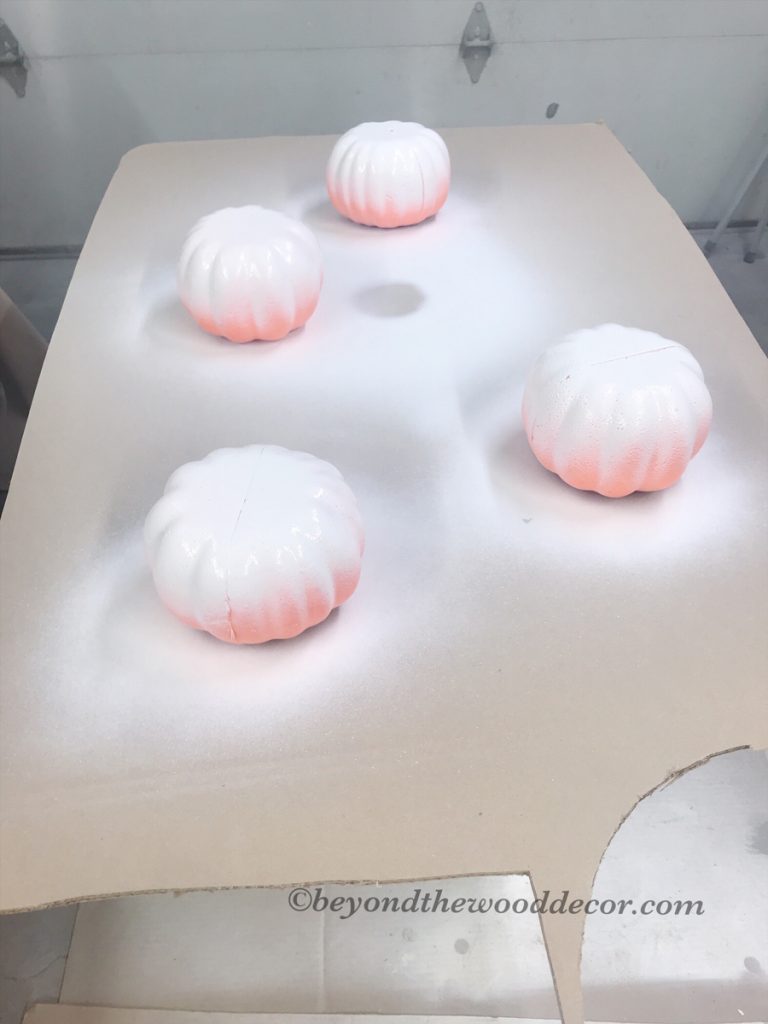
Time to spray!
So I sprayed the bottom first. It did take a couple coats to cover the orange and then once dried I flipped it over to do the top.
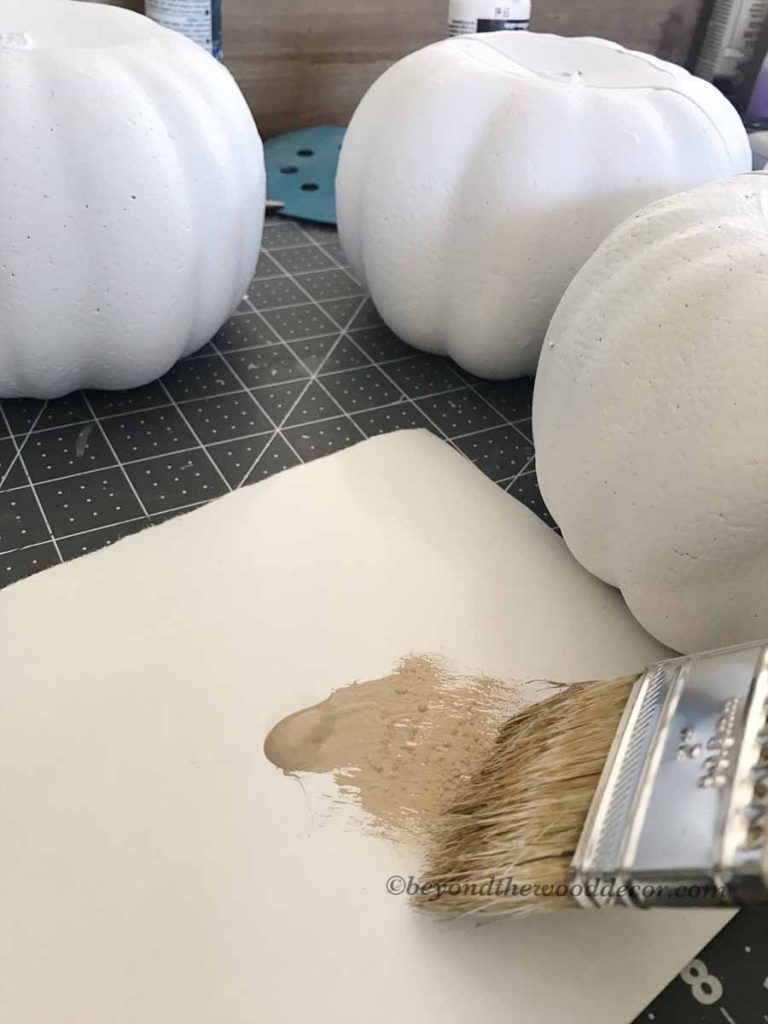
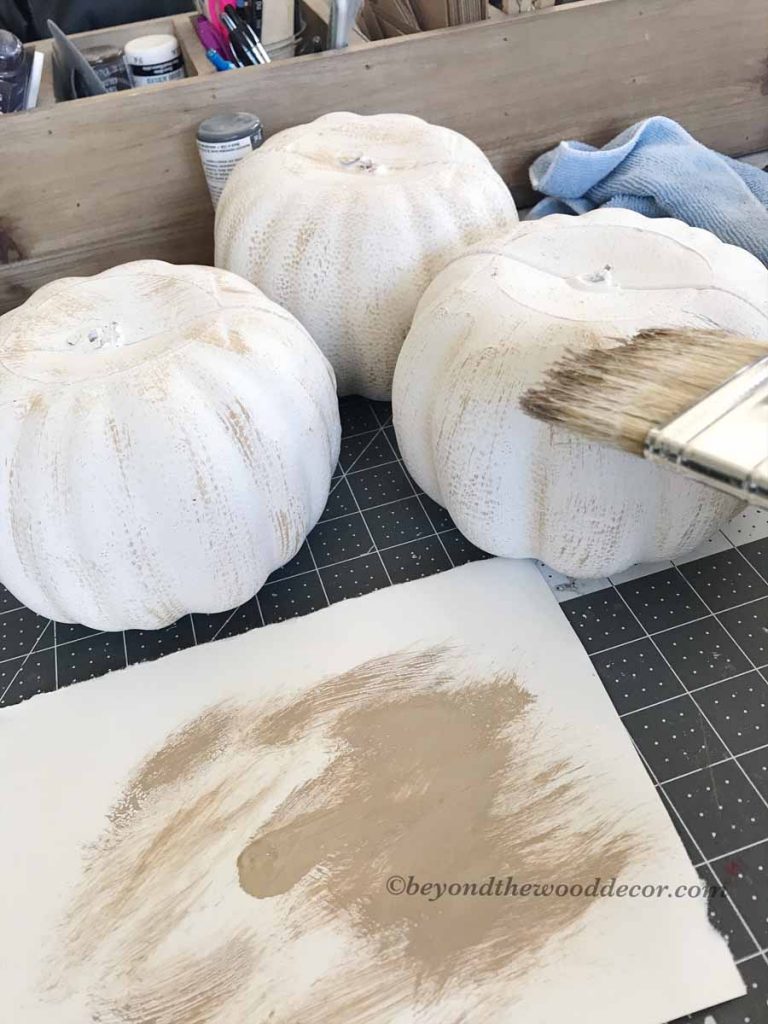
Next they came out a beautiful white and if you like that you could leave it as is. But I wanted a bit more aging rustic tone so I added some beige paint. I just lightly dry brushed it on and did a little heavier in the creases to give more depth. Oh they are looking so good just as I envisioned!
Looking goooood!
Next I headed outside to look for some old tree branches so I could cut some new stems. Oh these worked perfect.
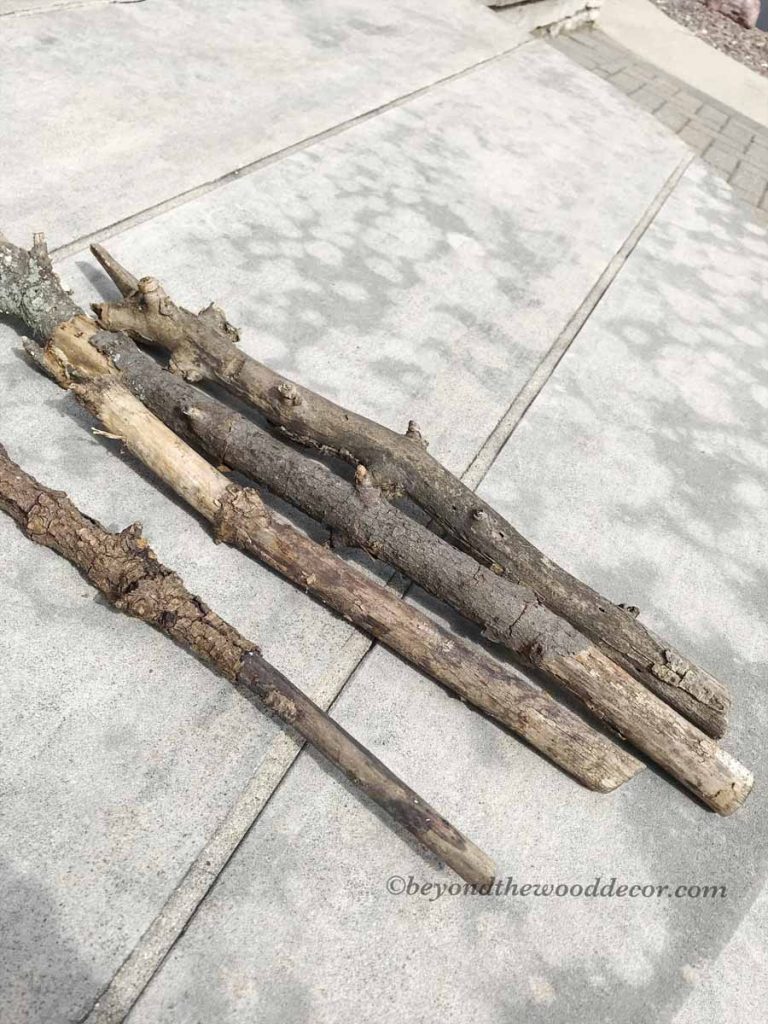
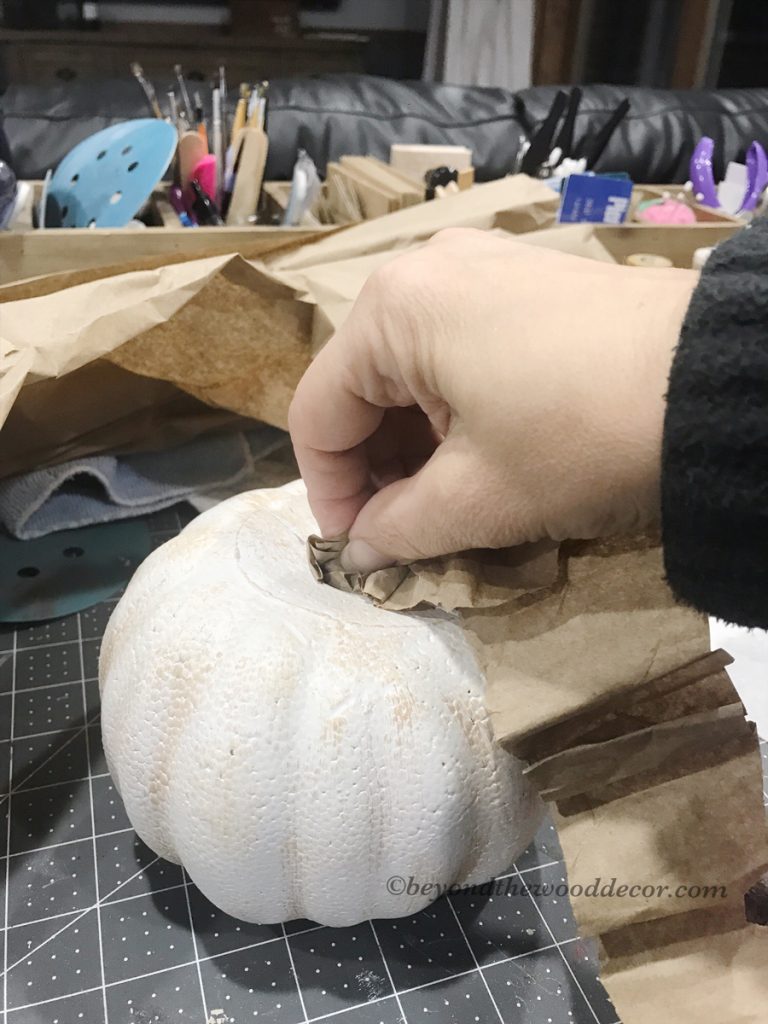
I then cute them to a length I thought would work and I stuck it into the top of the pumpkin. Because they are hollow they kinda slipped down to an empty shell so I decided to stuff the pumpkins with craft paper used for shipping and that worked perfect.
I just cut some narrow strips and shoved it in the hole that I made with the stick.
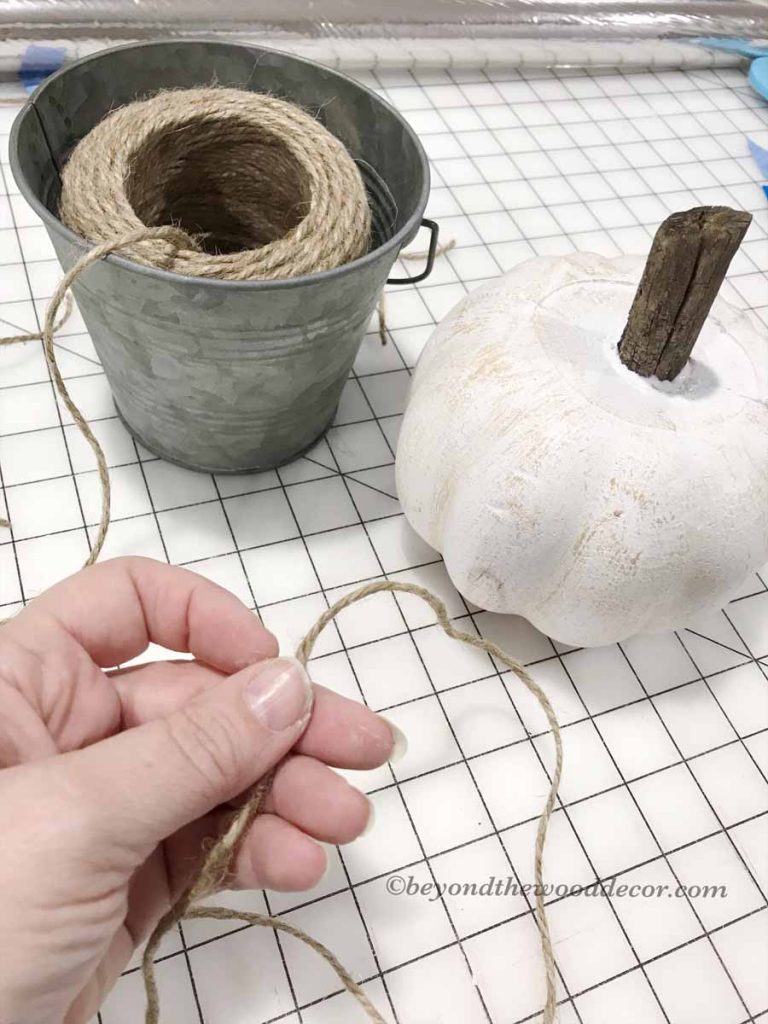
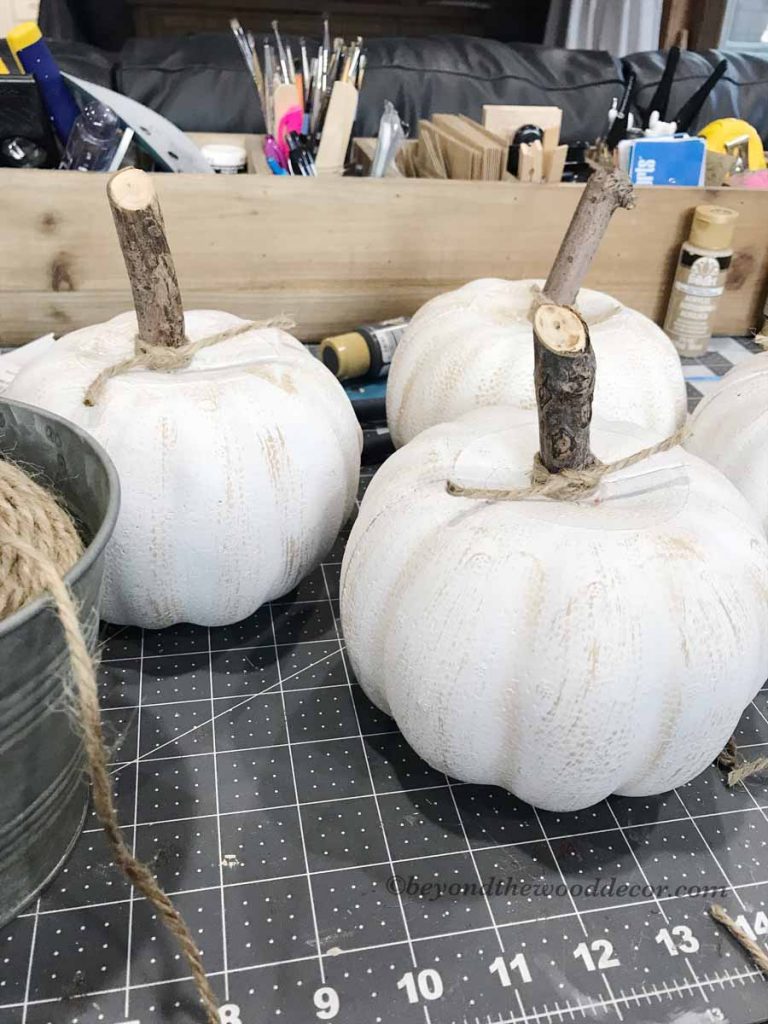
I then glued the stick that I made for the stem into the hole. While the glue was still wet I cut some twine to wrap around the stem. Although, after the first one I decided to use a glue gun because once again I am to impatient waiting for glue to dry.
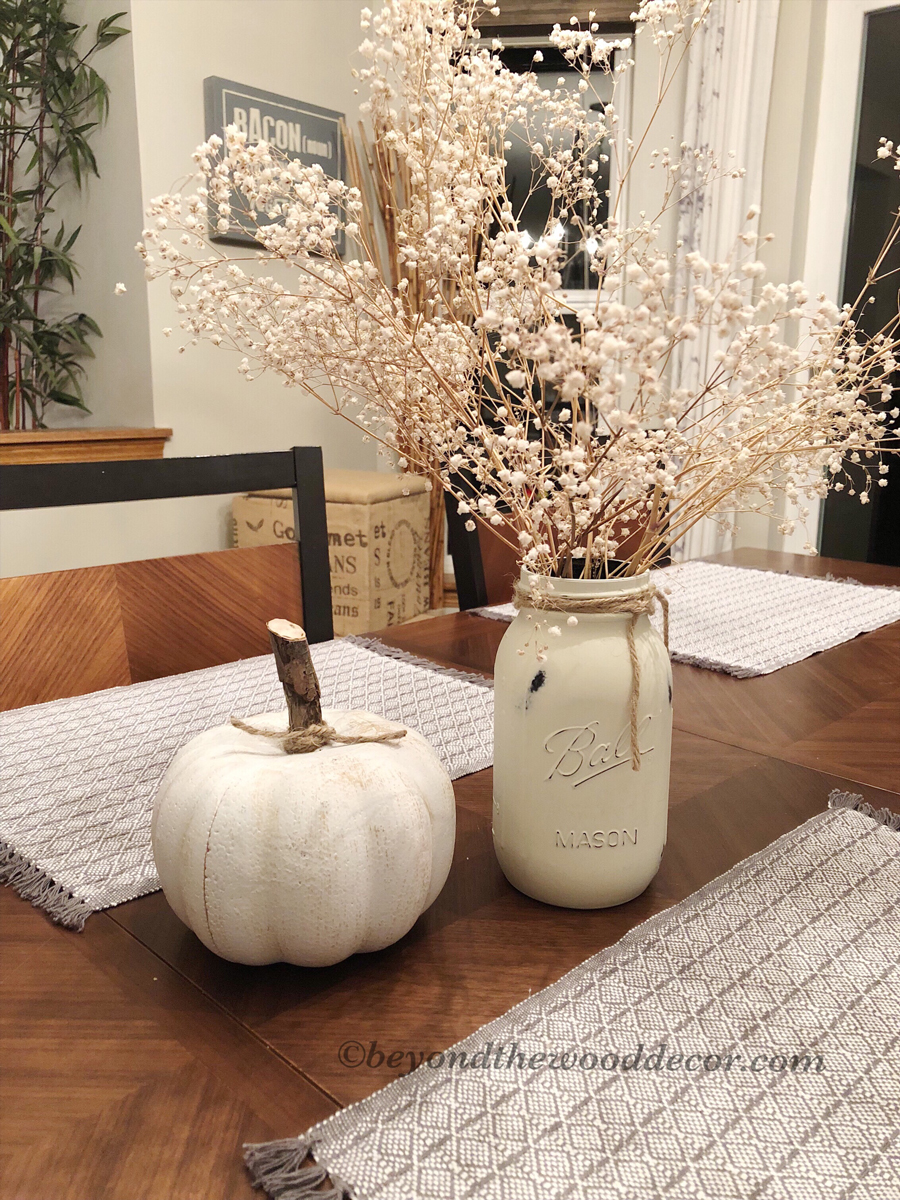
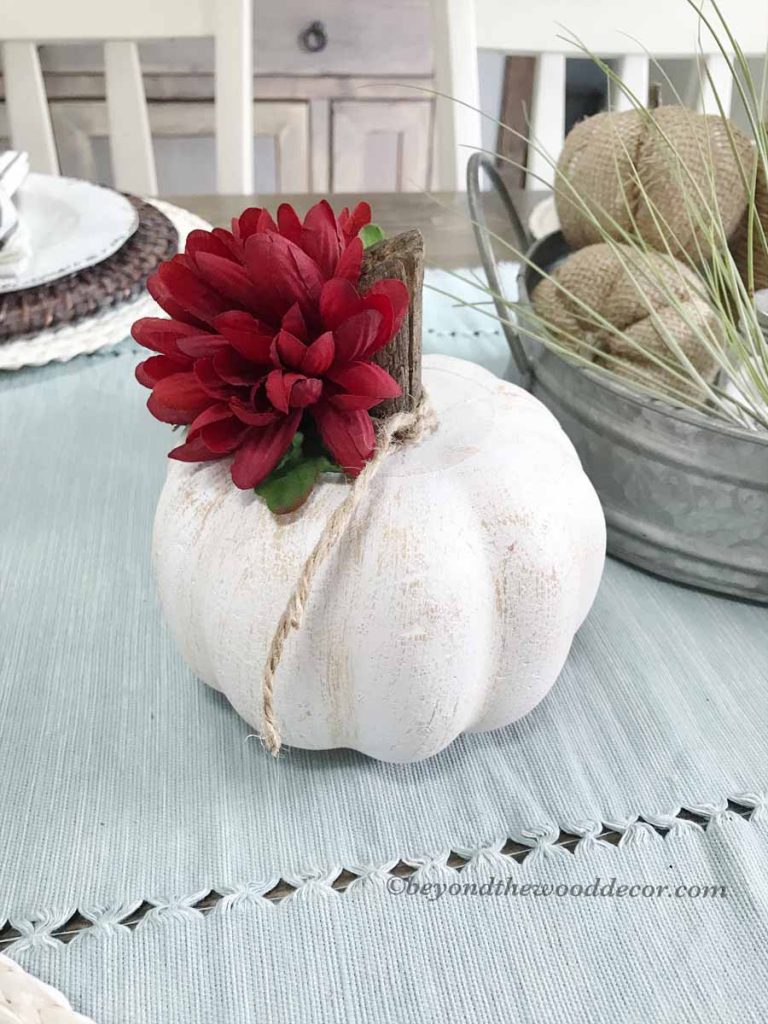
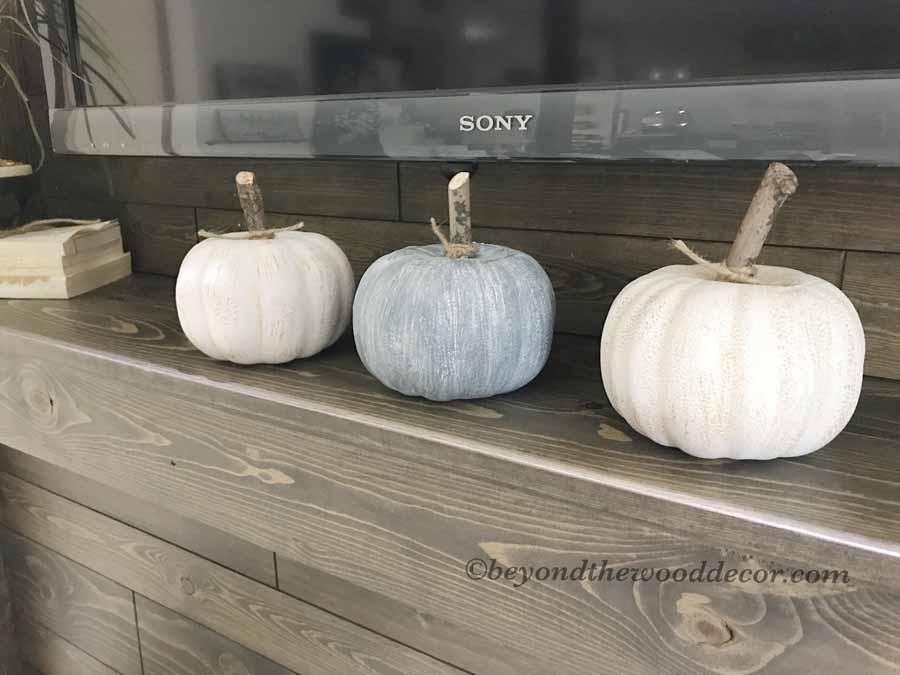
Finished Pumpkins!
There we have it. Some gorgeous new pumpkins to match my neutral decor.
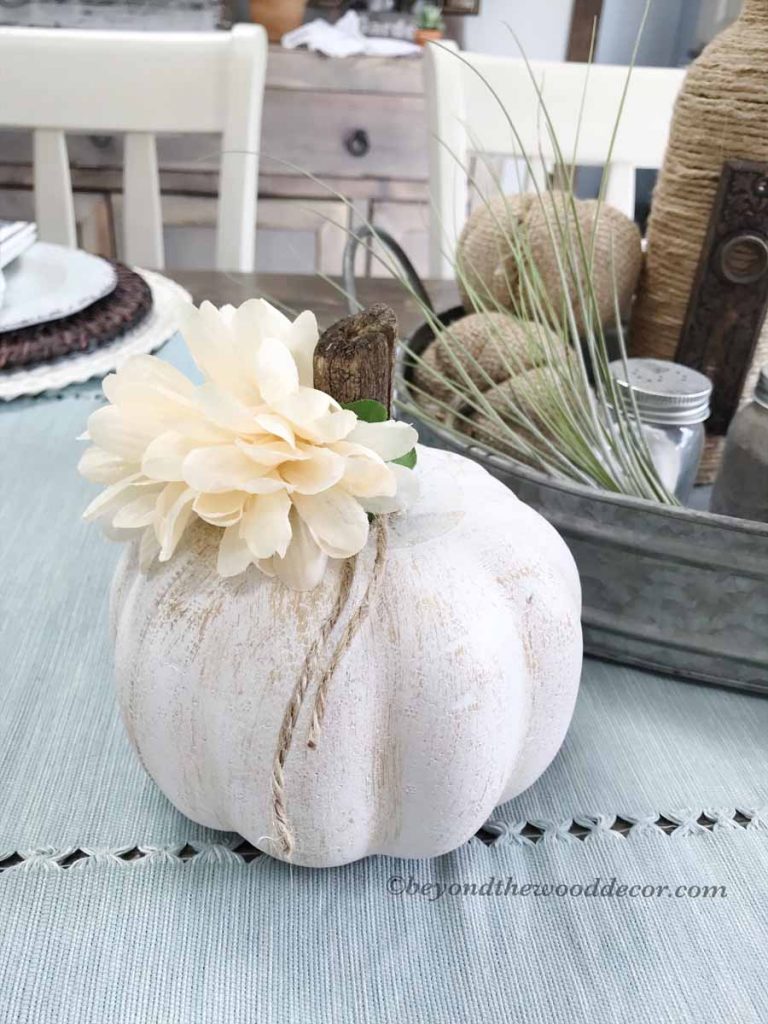
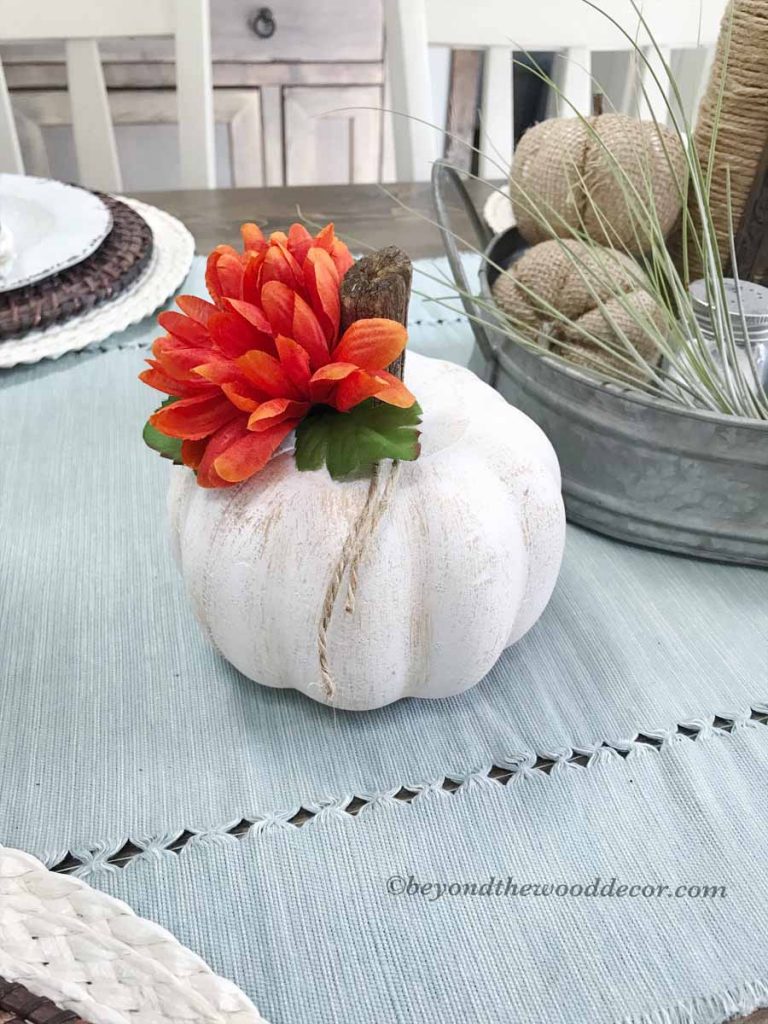
As I looked at them I LOVE them just as is but I also know they would be adorable with a flower stuck in the side so I played around with a few colors of flowers. Seriously, are these adorable or what!
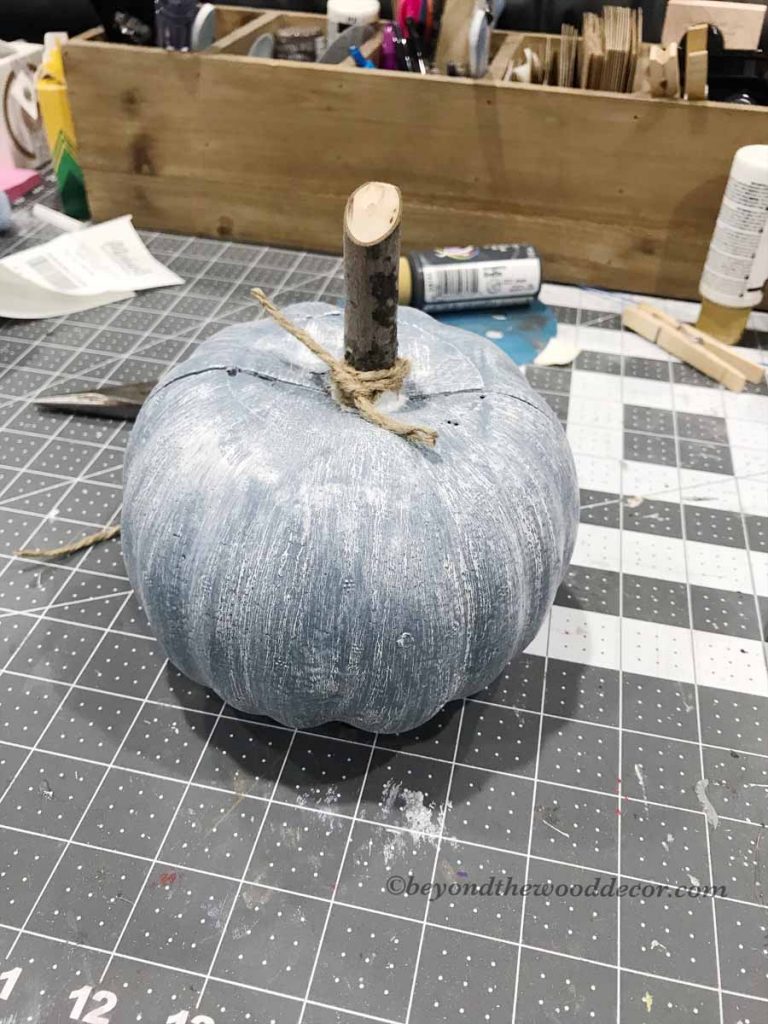
I then decided to make some blue ones and then white washed them. Here is the blue….

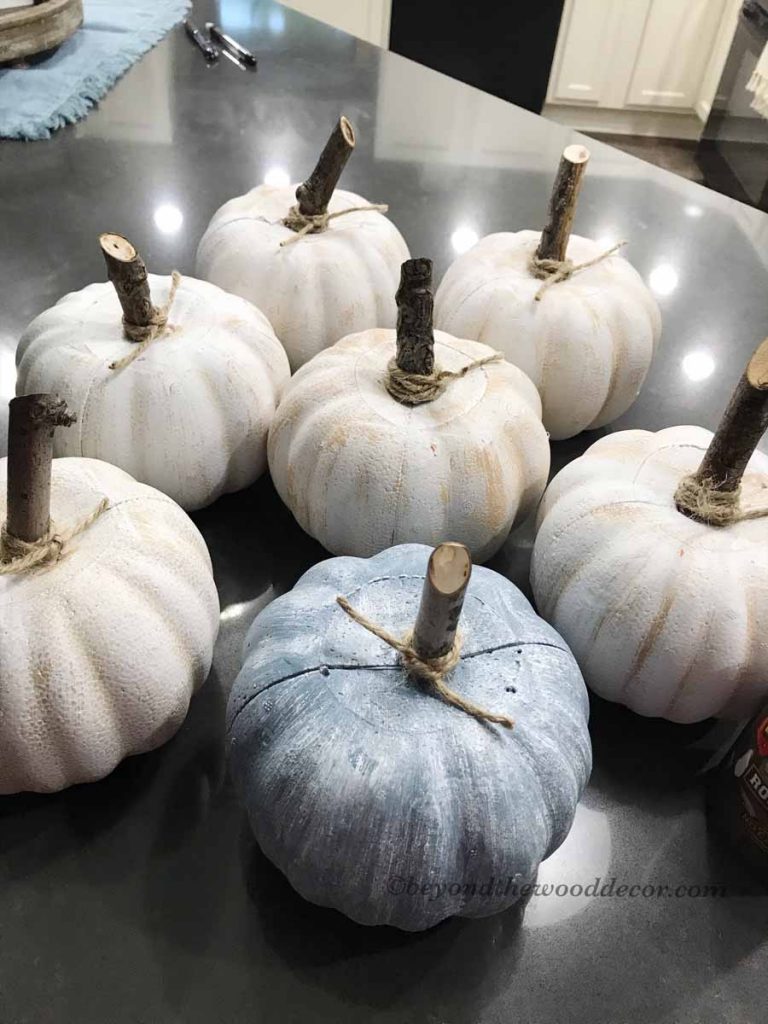
and here it is white washed. ADORBS, hey!
I am in love with all these pumpkins. I made one for each of my daughters as well and they love them too!
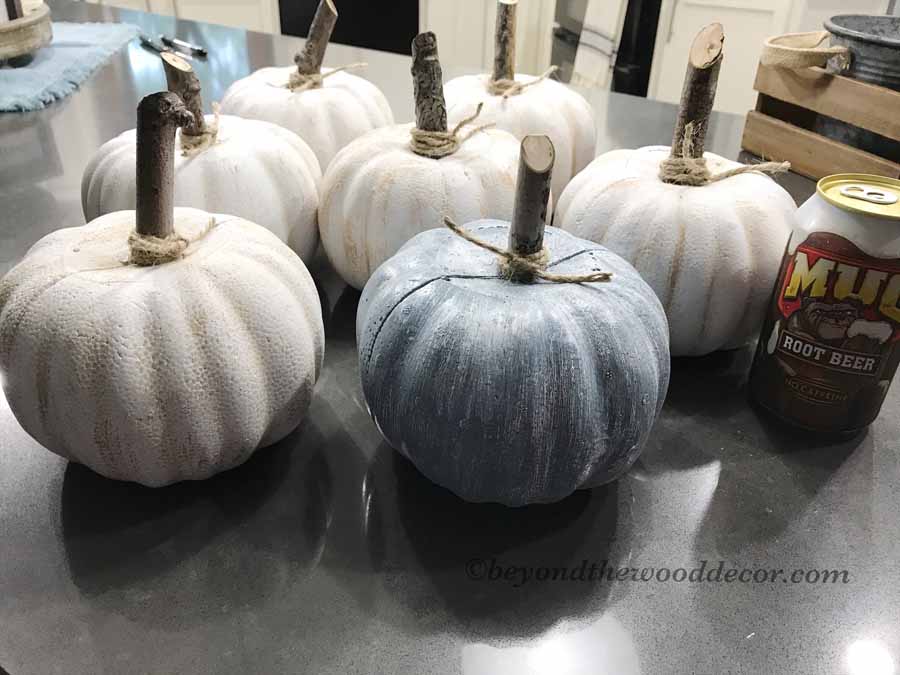
When two of my daughters came to get theirs they said they were so much bigger than they thought from a picture. So here they are next to a soda can and you can see they are a really nice size.
The girls were pleasantly surprised and thought they looked cuter in person. I think they are right!
Soon I will be decorating with all my fall decor and these pumpkins will surely be added to the mix!
I hope you enjoyed this very inexpensive DIY. I also know some of you may love one but rather not go through the time of getting supplies and making them so I do have extra. If you would like one they will be $7 each with or without a flower of your choice from the 3 I have shown.
But if any of you make them I would love to hear about it! The Dollar Tree currently has the orange styrofoam pumpkins but I do believe they will sell fast so you may want to get them while you can.
Craft on my friends!
Thank you so much for stopping by the blog today. I hope you enjoy the rest of your day!


Hi Tammy – Oh my, I love love love! Super cute! I look forward to your blog posts. I see a trip to the Dollar Store in the very near future, thanks SO much for sharing.
Oh I am so glad it inspired you! Thank you for your sweet comments I truly appreciate them!
Super cute pumpkins, love the colors!
Thank you, I do love them too!
Love these, Tammy! I also painted some Dollar Store pumpkins with General Finishes Pearl Effects metallic paints last fall— love that fun metallic shine! So many ideas, so little time, right?? 😍
Oh thank so much Karen! That is a great idea as well, I bet they were gorgeous! Thanks for sharing!
So right on ideas and time! I have so much in my head and time does not allow them to come to life. Oh well life goes on, right!
So love this idea. Perfect for this fall/halloween season. Thanks for sharing! https://www.hollymullin.com/
You are very welcome Holly! They really are so fun to make. Thank you so much for the comment!
I like the neutral colors
They are my favorite too! 😍
SO cute! Can’t wait to get after this one. Although I think I’ll get tripped up on the stem. BUT hey when it’s this cheap, a little trial and error never hurt! Thanks again for the tips!
Oh thank you my dear. You will do great. You really cannot mess them up as no pumpkin is perfect. Good luck and have fun with it.