
Oooooohhhhh friends I am so excited to share this super easy and super fast DIY puck light trick for any wall light. Yup even if it is one that is wired for electricity and you don’t want to go through that trouble. No fear I got you covered!
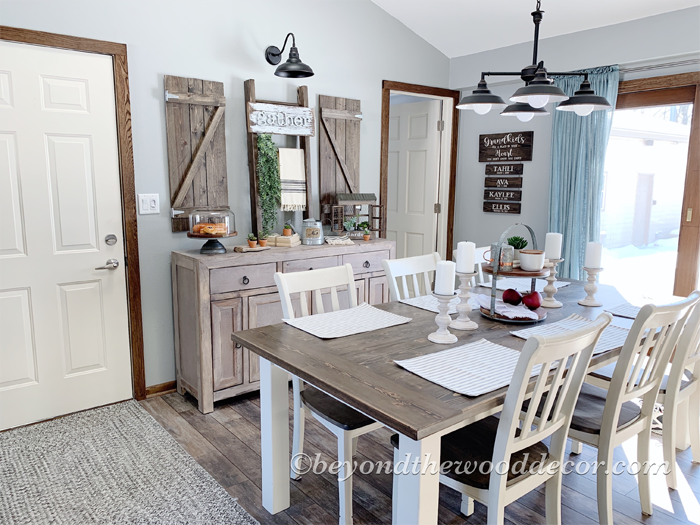
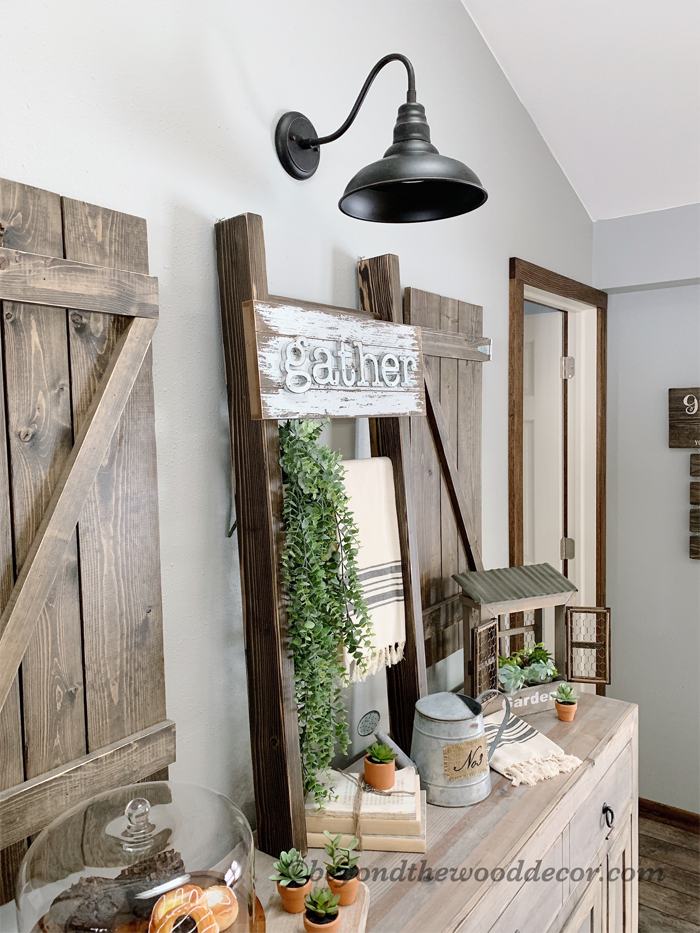
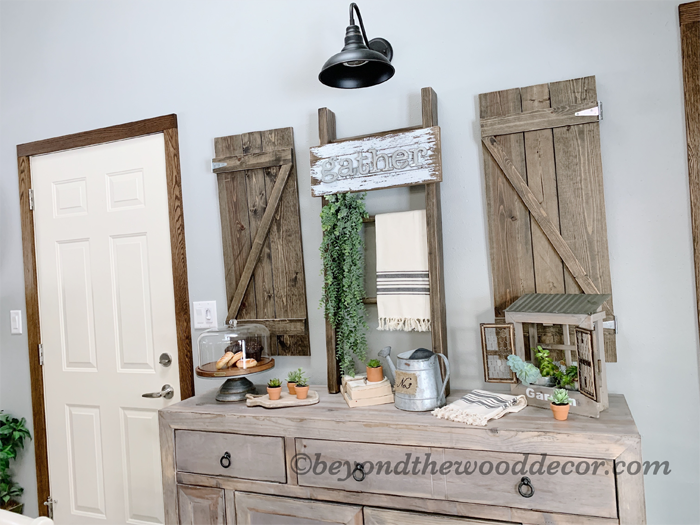
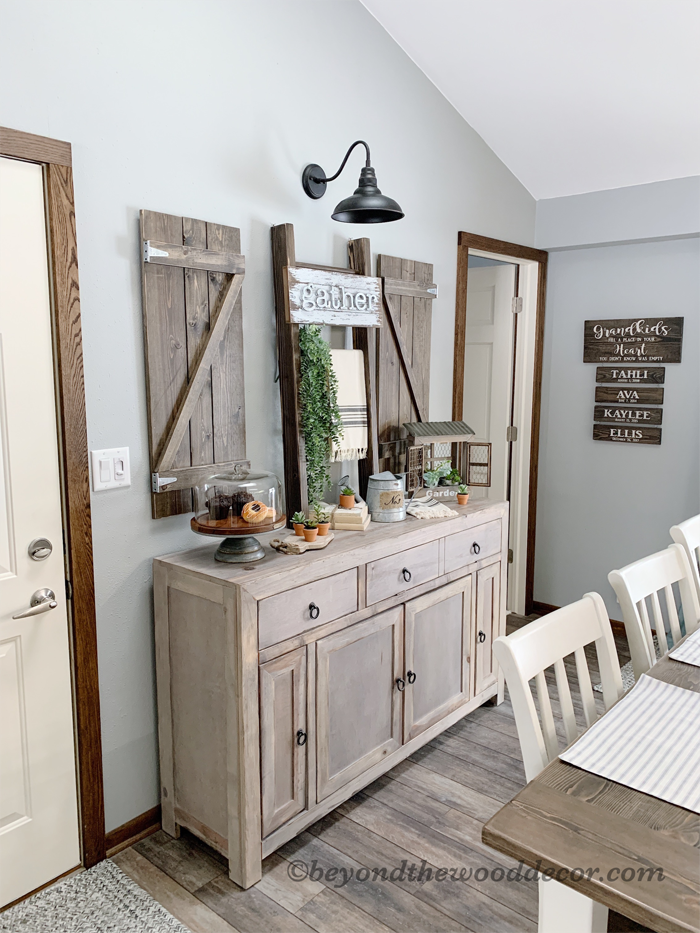
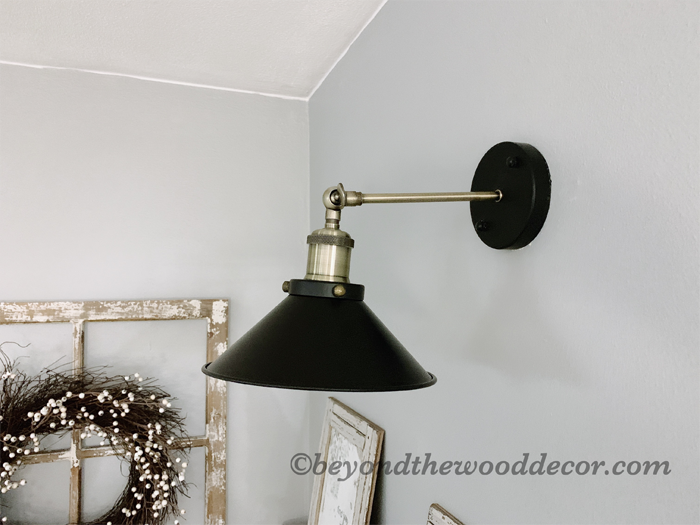
My birthday was last month and I had asked for a farmhouse wall light for above my ladder on my buffet in the kitchen. I envisioned that space needing something and a light was exactly what it needed. I did not even care if it gave off light as I didn’t really need it for light in that area but if it did that was a plus. I was looking more for decor because you know me decorating is my side kick!
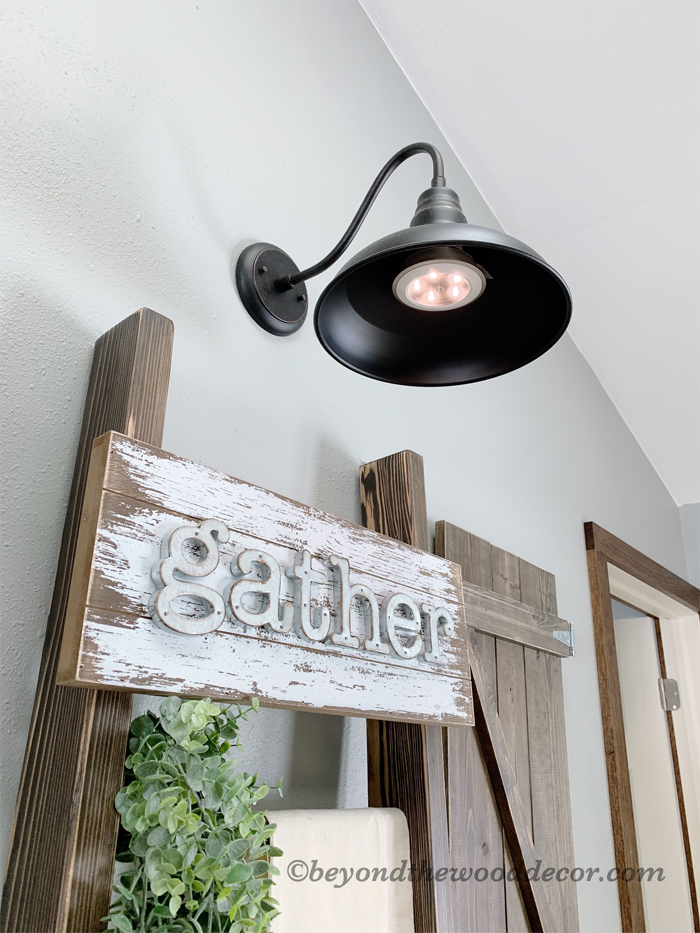
But c’mon how cute is that light?!……Just screaming barn light, hey!

It was exactly what I wanted but getting electricity up there was not going to be happening now. There is an outlet behind the buffet hubs could have tapped into but that would mean just way to much work. I mean cutting out drywall and wiring up to there and then patching it all again was just way to much to ask. Sooooo, I had a much faster and better idea.
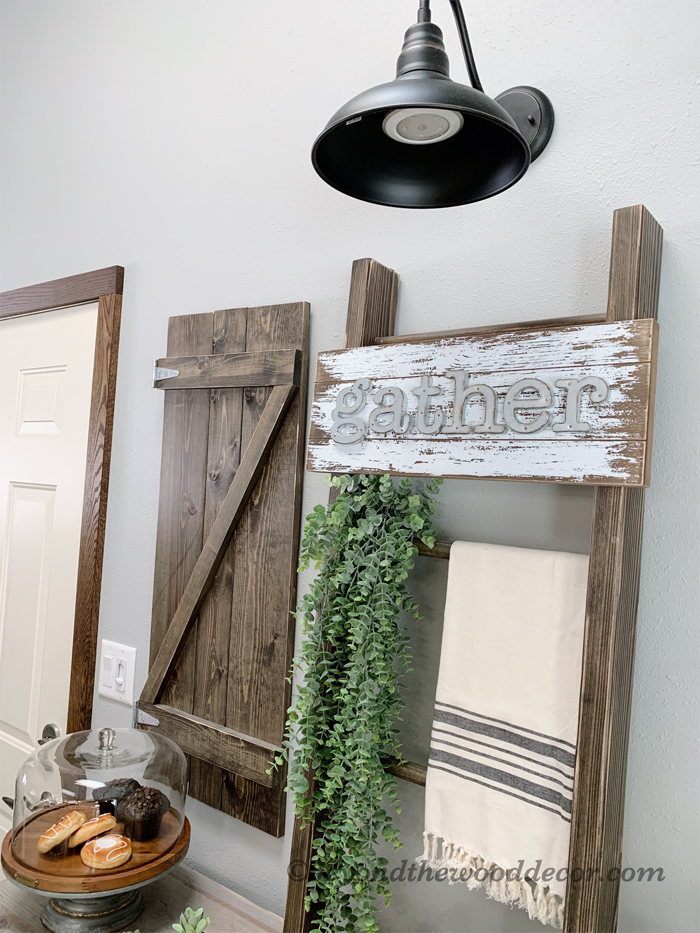
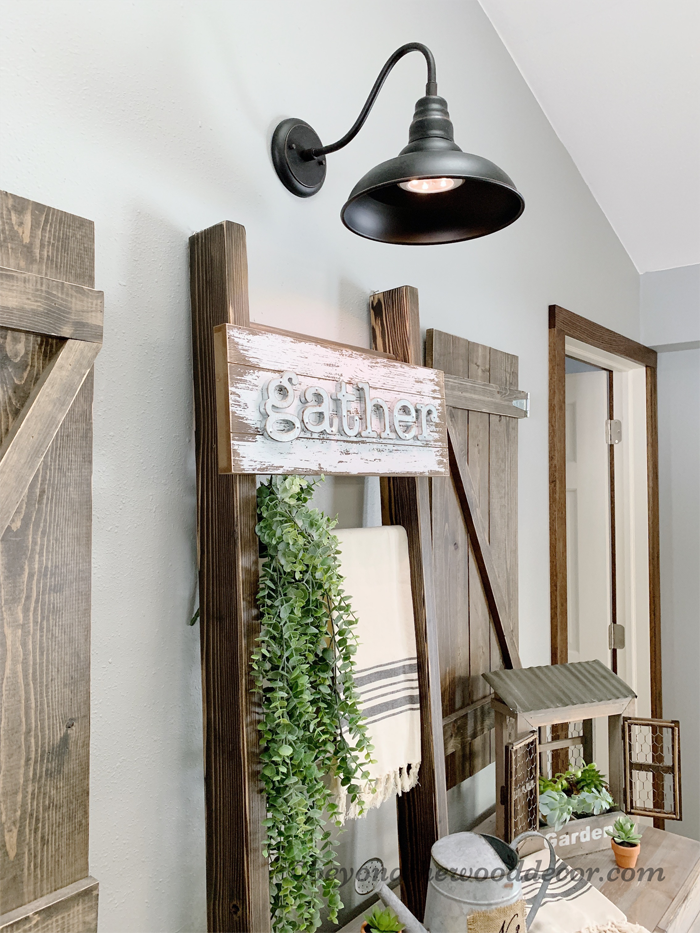
Like I said before I really didn’t need light there so I could have just put a bulb in it that really never turned on. That way it was just for looks. But I thought it would be pretty to have a little light shining down on my gather sign from time to time.
Puck Light Trick
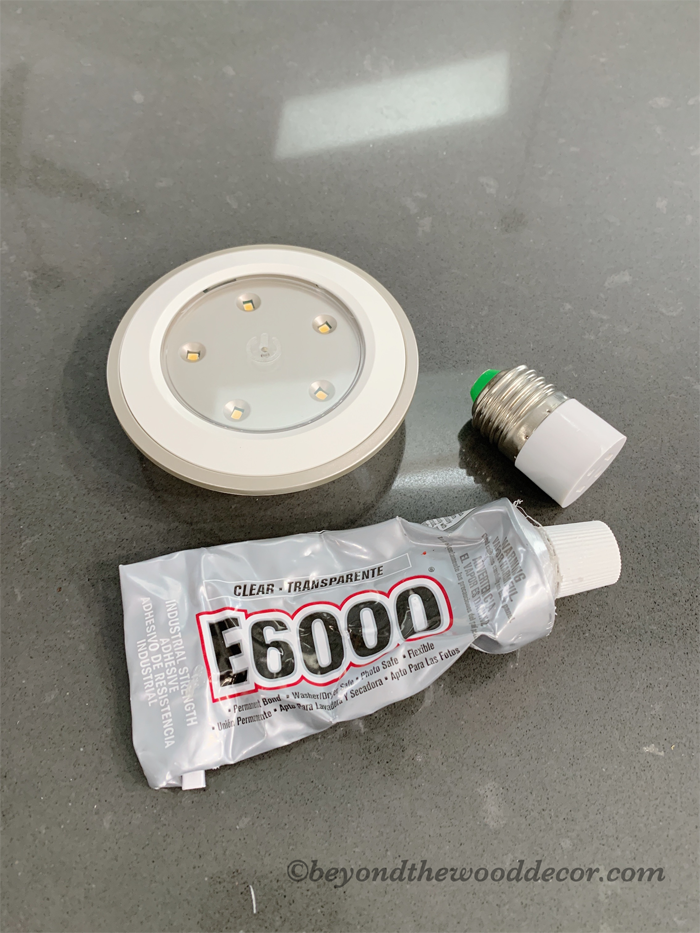
This was so simple and only 4 supplies were needed. All came from good ‘ol Amazon!
#1 A light of your choice (here is the Farmhouse light I used) )
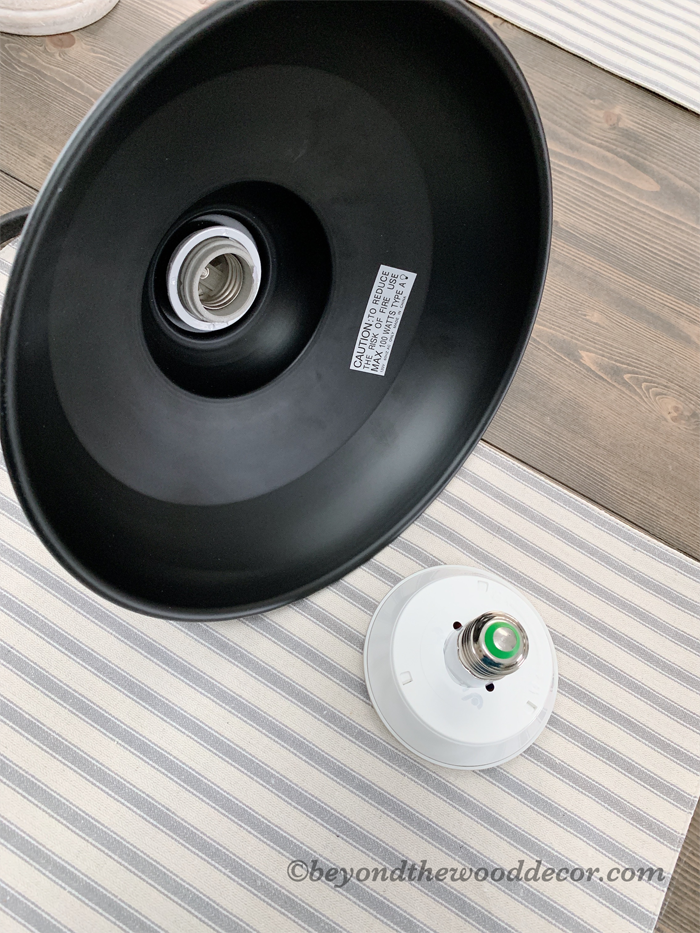
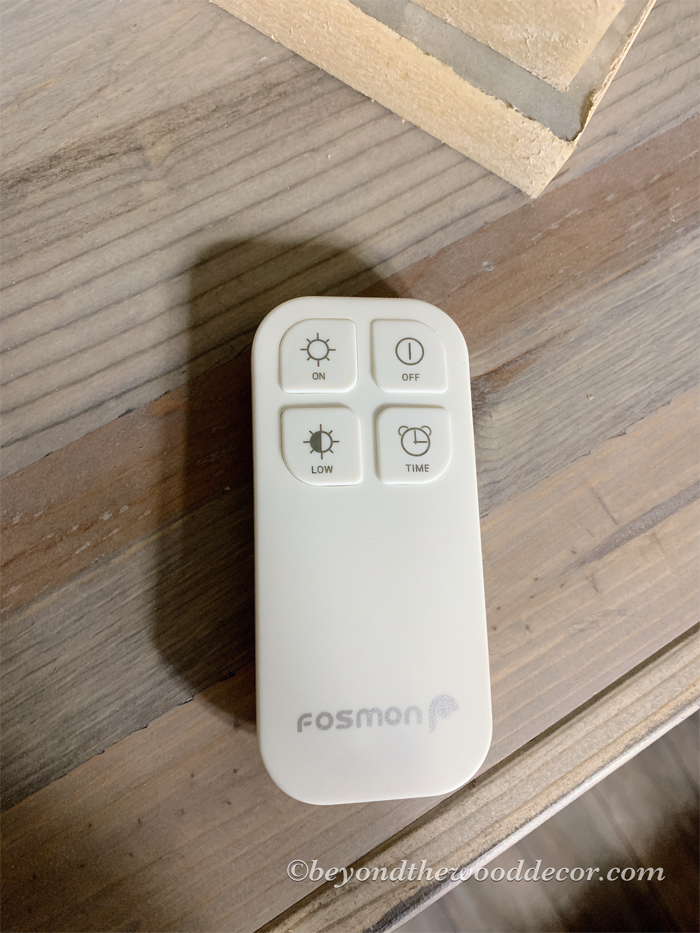
#2 A Puck Light with a remote (I got mine here at Amazon)
#3 A type A screw in adapter (here is what I bought from Amazon)
#4 E6000 glue (I love this glue for so many things and you can also buy on Amazon or at hardware or craft stores)
I decided not to use that red 3m mounting tape that the puck light came with because all the puck light had to stick too would be the ring around the hole and I knew that would not hold long term. Instead, I went with these next steps…..
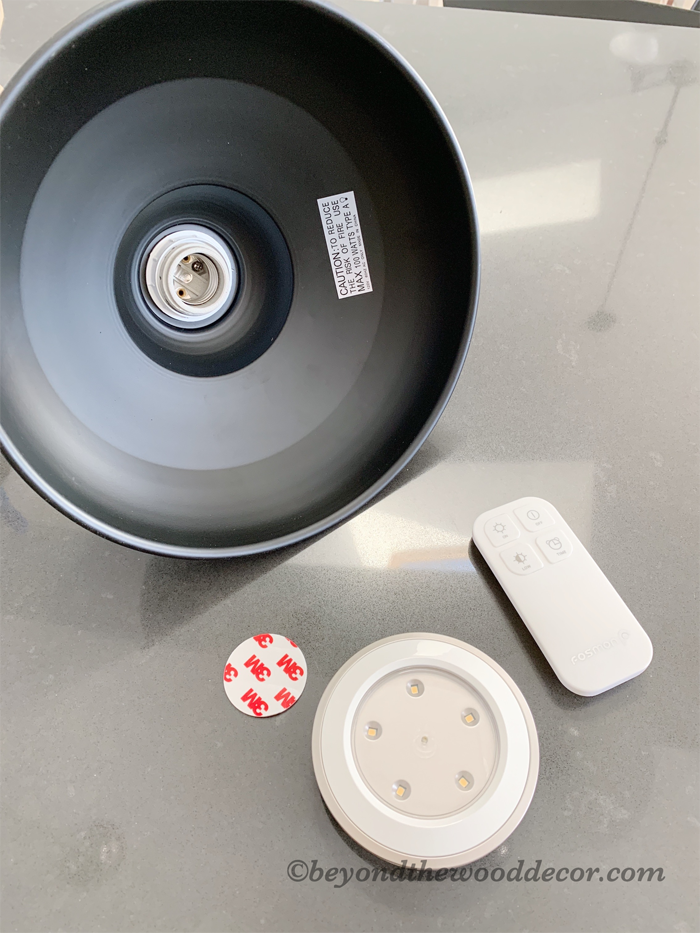
Are you ready….Anybody can do this so here we go. I first put the batteries in my puck light which needed (3) AA batteries. Then just put some E6000 glue on the end of the adapter and stick it on the center of the back of the puck light.
Let that dry for at least 24 hours for good curing.
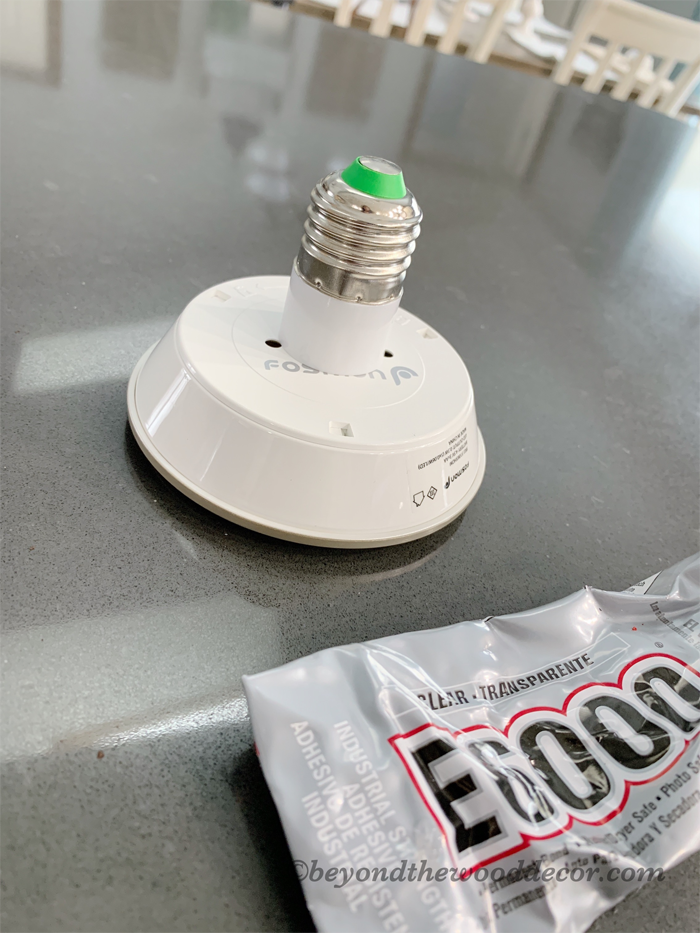
BAM…that is all you do and you can now screw it into your light.
Hanging your light
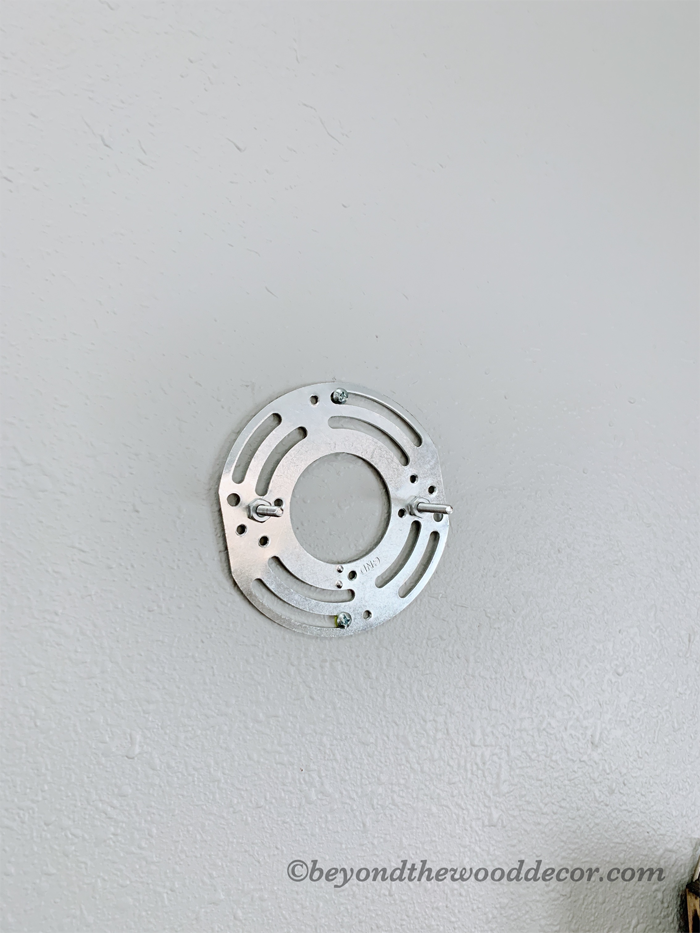
You are now ready to hang your light. First, you will need 2 screws and 2 anchors if you are going into drywall. In the box with the light is a back plate for mounting. Using the 2 longer screws that came in the mounting kit stick them in the two holes before mounting the plate on the wall. Then go ahead and decide where you want it hung and pencil mark a hole on the top and bottom anywhere in the plate.
Here is a close up of my plate mounted on the wall. I just made sure the two screws coming out that my light will attach to were level and then the screws going into the wall I used those slots instead of the two holes just so I could slide it if needed for mounting level.
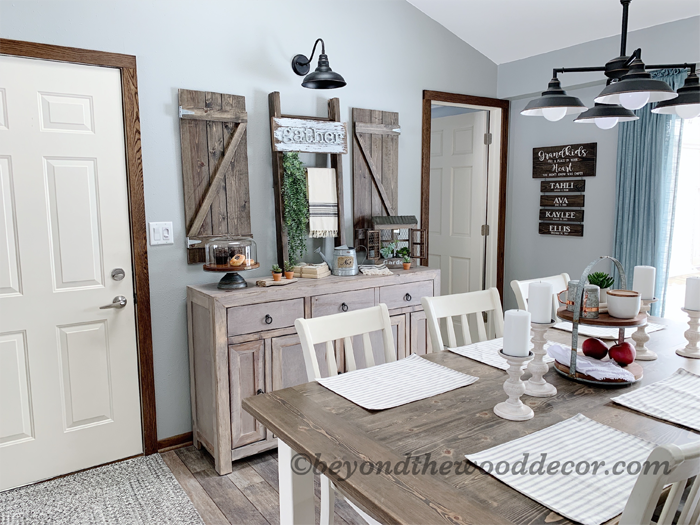
That is it my friends. Just take your light and mount it on that plate and screw the covers over the screws. Now wasn’t that easy and how cute is that?!
This set of puck lights came with a little remote which is so nice to turn on and off. I bought this set of three because I knew I will use the puck lights in other projects I have planned and the price was so reasonable for 3.
Keep in mind you can use the other two in closets or under cabinets or any dark space you wish you had light. Or, like me, another light down the road.
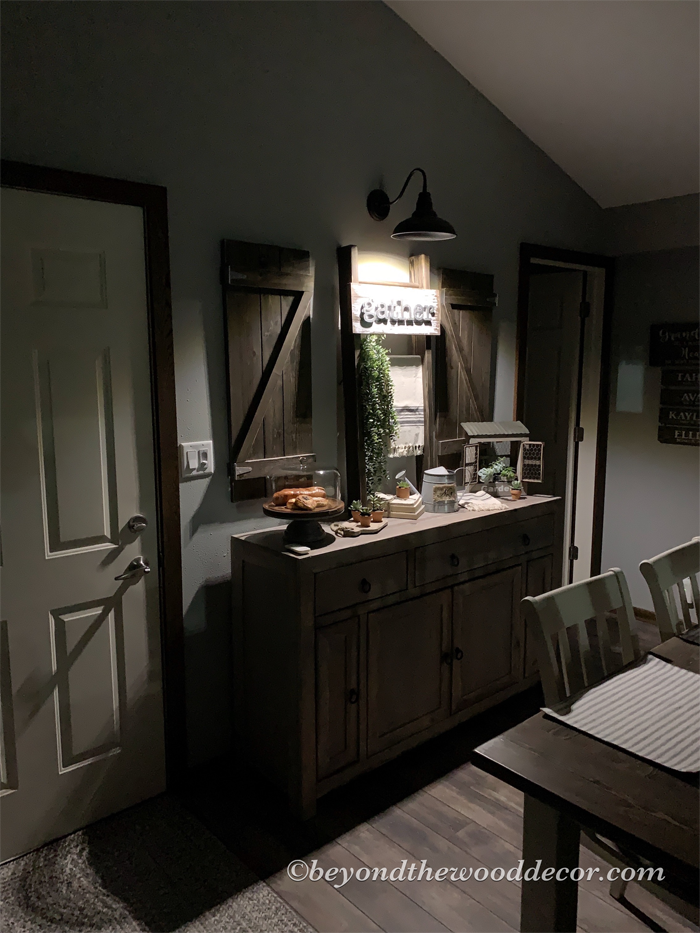
Now I was so surprised how much light it actually gives off and had to take a photo at night with no other lights on in the kitchen. I could not believe how it shined down on everything on the buffet including my “gather” sign. These photos were also taken with the flash off on the camera.

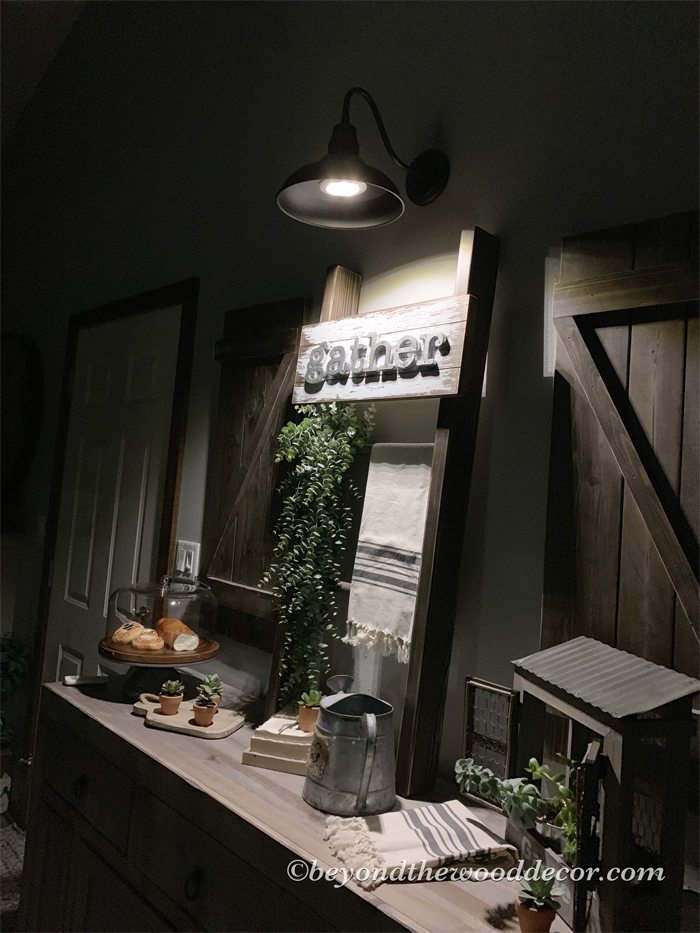
Isn’t that so nice, I mean look it even shines down to the floor and table. Being battery operated I would not keep on for hours and hours every night. But for special times I think its nice for the option of a little light over there.
I really love this little trick and being controlled with just this simple remote is awesome. Plus it has a 30 minute timer on it so it will automatically turn off after 30 minutes if you set that.
Now I plan on hanging one more above a grouping of picture frames I shared in this post. Since it gives off so much light I think it will be gorgeous over any art you want to display.
These barn lights also look so good above a kitchen sink. I have a light and shelf above my kitchen sink already but otherwise I would have for sure put one there. But at least that gives you another idea!
That’s all I have for you today buddies but many more ideas coming down the road. I hope this little puck light trick gave you some inspiration for your own space and you didn’t mind being spammed with so many photos! lol
I really love my new light and excited to get more now that I have extra supplies.
Thanks so much for hanging out with me today now go out and be awesome!
xoxox


Love this!!
Thank you Sarah, I am really enjoying it too!
I love this idea and will use it for sure. That light looks great in your kitchen. Thanks for sharing your awesome ideas.
Thank you Mandi I appreciate your kind words. So glad I can give you inspiration.
Terrific idea!! Love the look over that beautiful buffet. And if the puck light is LED, the batteries will last for many years to come…. 😀
Thank you Karen, and yes they are so that is a very good point!
Very nice. Remote control is so convenient. Thanks for these tips.
Thank you Janean and you are so very welcome, but truly, thank you for following along and all the wonderful comments.