
Here I am back at another DIY project. I am so crazy busy with work stuff but yet I have to find sometime for myself, right! So I am so excited to finally make something I have been wanting to try for awhile now and better yet I am going to teach you! I mean after all you’re my favorite VIP’s so of course I need to bring you along and share my super inexpensive DIY olive tree topiary.
First off a little fact about me….I do not like olives. Nope, I will pick around them if they are in a pasta salad or anything. But I do love olive trees. Go figure! Just something about those little olives hanging on a tree and if it’s a topiary all the better. So I did a little digging and did you know olive tree topiary’s are like crazy expensive. I mean I am talking for a decent size they range from $45-$75.
This girl just cannot justify that price and I really wanted one for the corner of my desk in my office. So let’s get started.
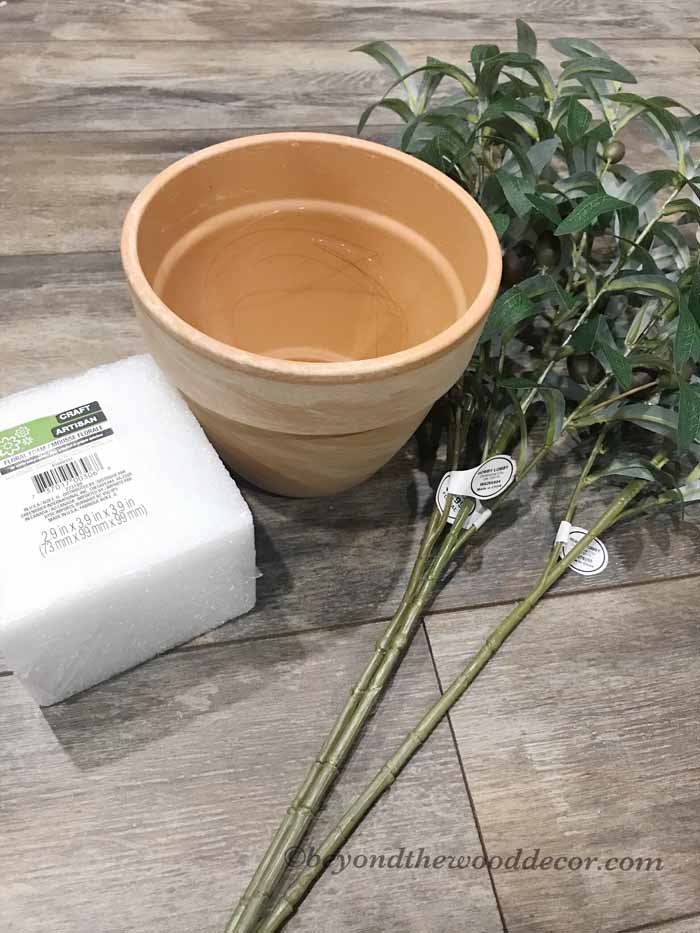
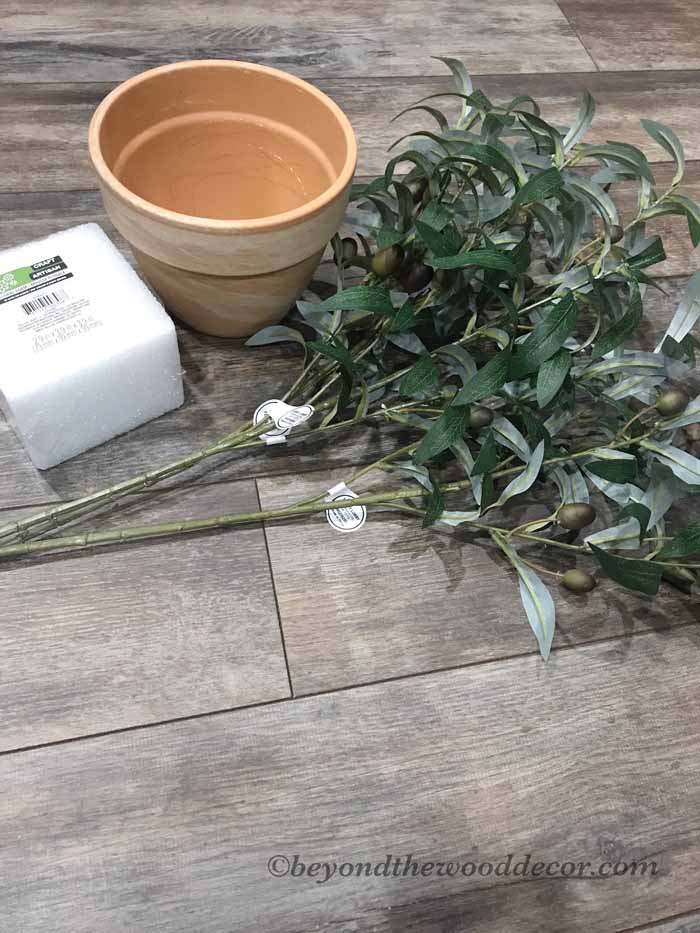
Supplies
Supplies you will need for this project are so minimal. I had almost everything but if I didn’t it would still only cost about $17.
1. Olive stems or sprays. I got mine from Hobby Lobby at 50% off so they were $3.50 each and I bought 3.
2. Container of your choice – I had a terracotta planter so I decided to use that.
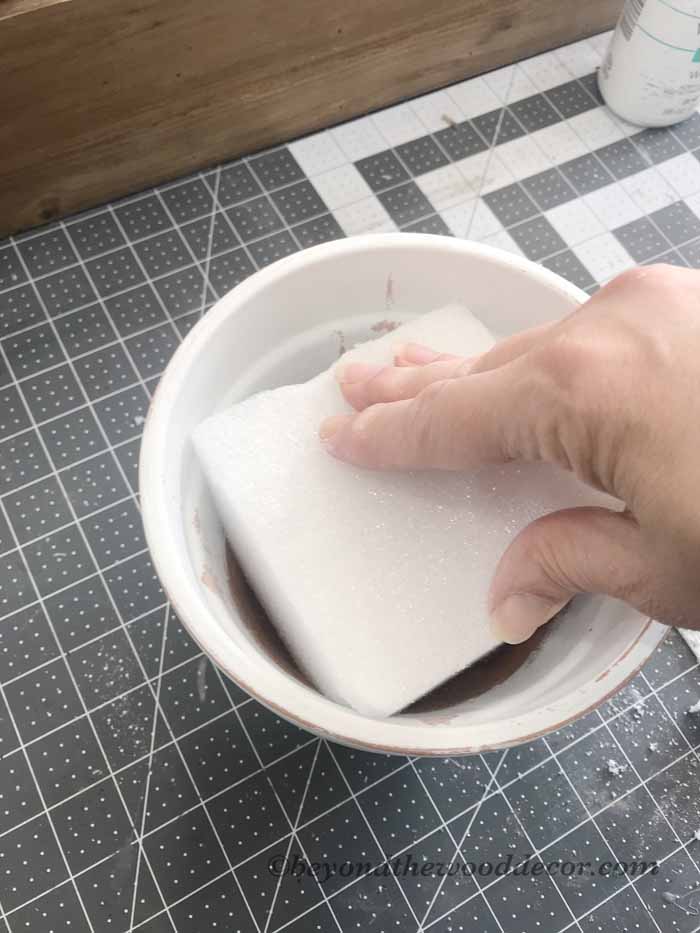
3. Styrofoam or floral foam – I got mine from the dollar tree for just $1
4. Clear fishing line-I got a piece from my son-in-law. (Thanks Alan)
Extras you might need depending on your container you use. If you paint it like me you will also need paint.
Let’s get started
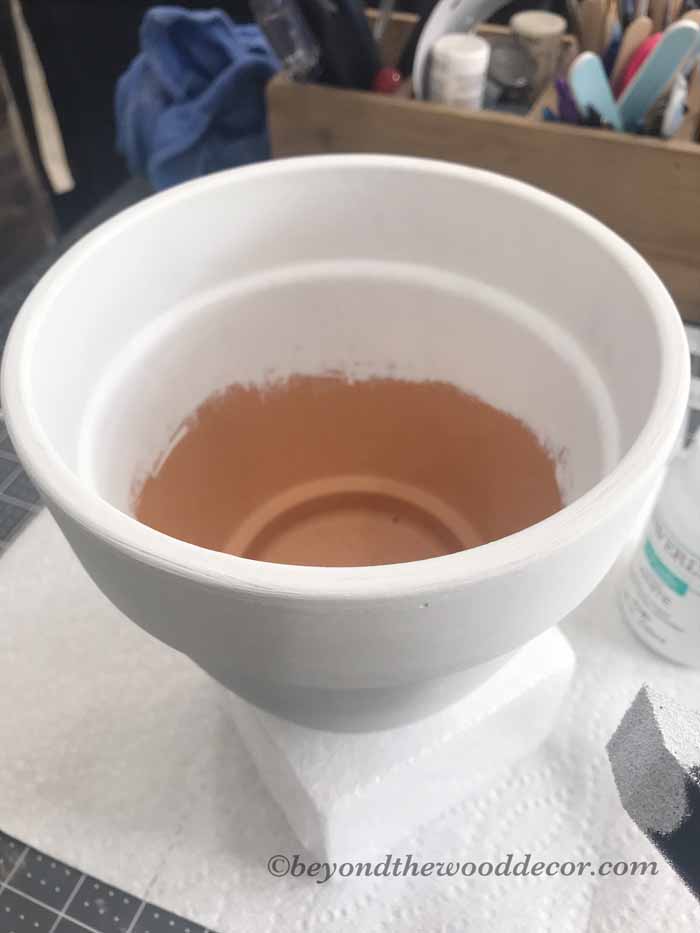
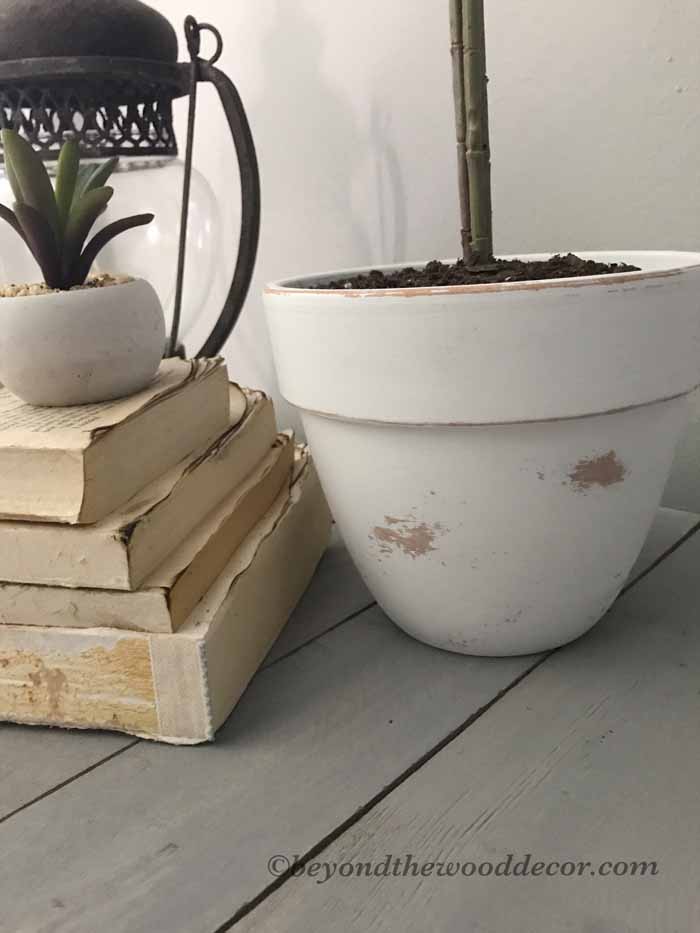
I did not want the orangey terracotta planter color so I decided to paint mine. I went with a white chalk paint from Walmart that I had and it is the Waverly brand. So I just used my sponge brush and away I went painting it.
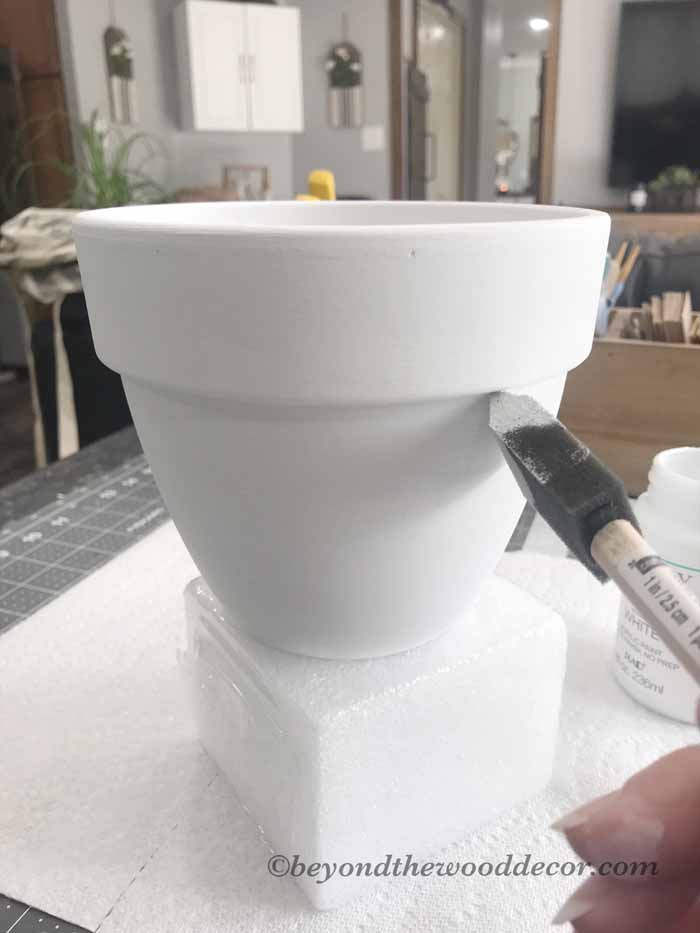
I also did the inside just a little ways down since the rest will be covered.
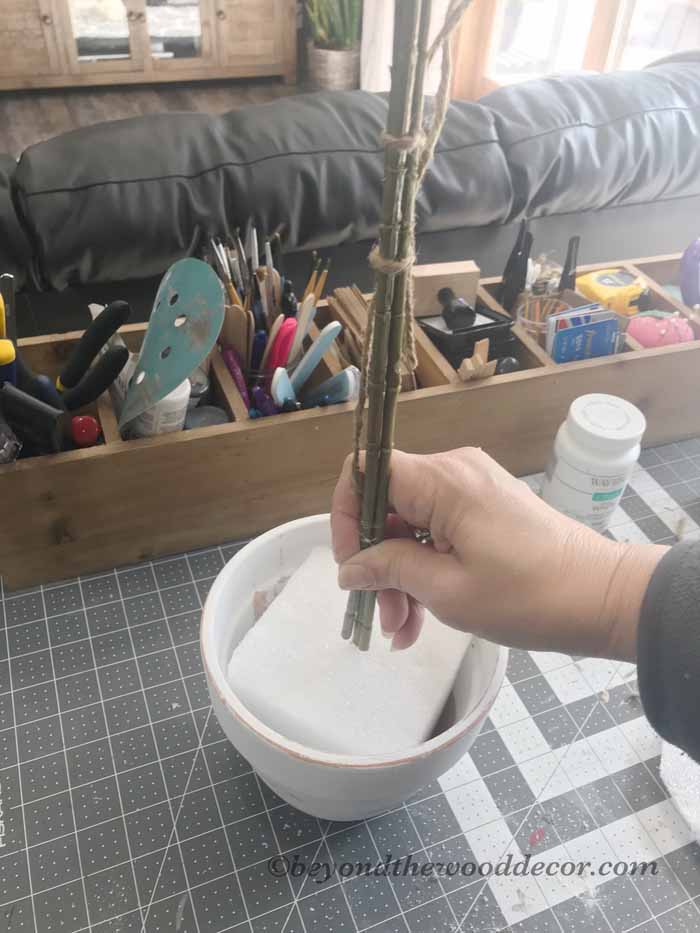
While that was drying I tied the stems together with some twine just to make it easier while tying them with the fishing line. The clear fishing line is so fine and thin so you can barely see it since I wanted it more invisible. I wrapped the fishing line at the top a few times and tied a knot and the same about 4″ from the bottom.
Once that was tied my pot was already dry. I love chalk paint for that reason so I grabbed some sandpaper and lightly sanded around it just to have it appear more aged and smooth it all out.

I then took my styrofoam and stuck it tightly in the pot. I did cut off a little bit on each corner tapering it so lightly so it would fit snug in the pot.

Almost done!
Grab your tied stems and stick them in the center. You can also remove the twine after this since the fishing line is now holding them together.
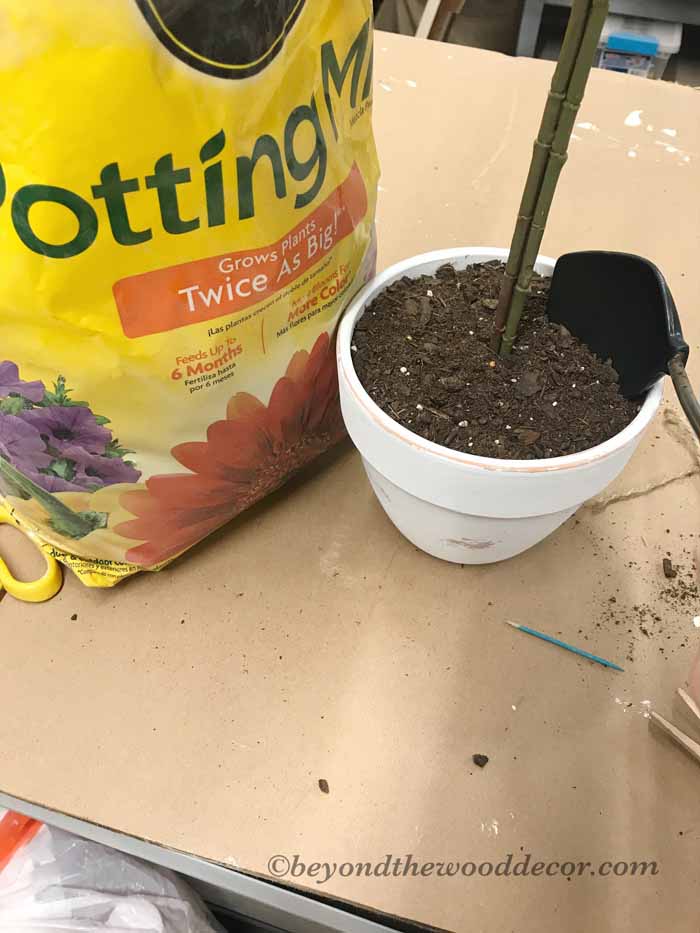
Now you can take a paper towel and just fold it to fill in the empty spots in the pot. That way you will use less dirt.
I decided to use plain dirt I had already, in mine, to cover the styrofoam but you can use anything. Ideas are stones from outside, mulch, peat moss, or spanish moss. I had all of that but decided on dirt to make it as realistic as possible.
All Done!
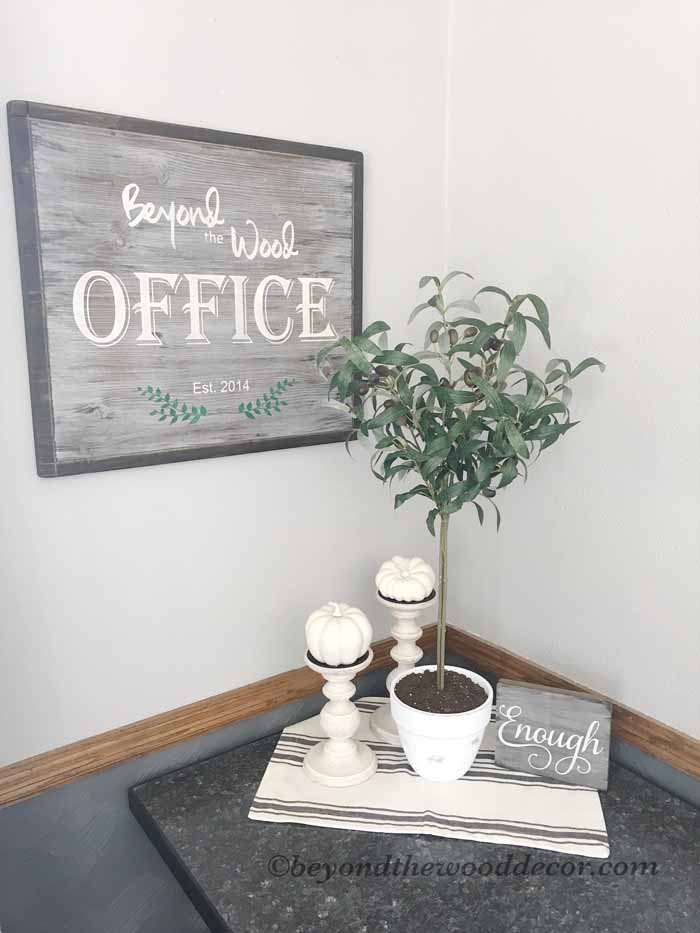
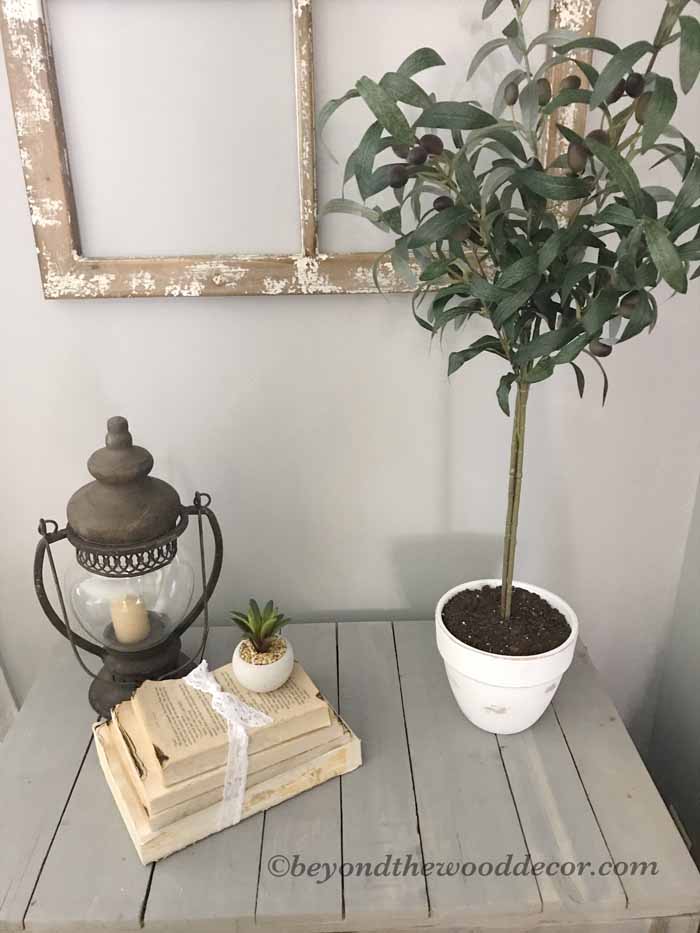
There ya go my olive tree topiary is DONE! Such a simple and fast project. I love how it turned out and looks perfect on the corner of my work table in my office.
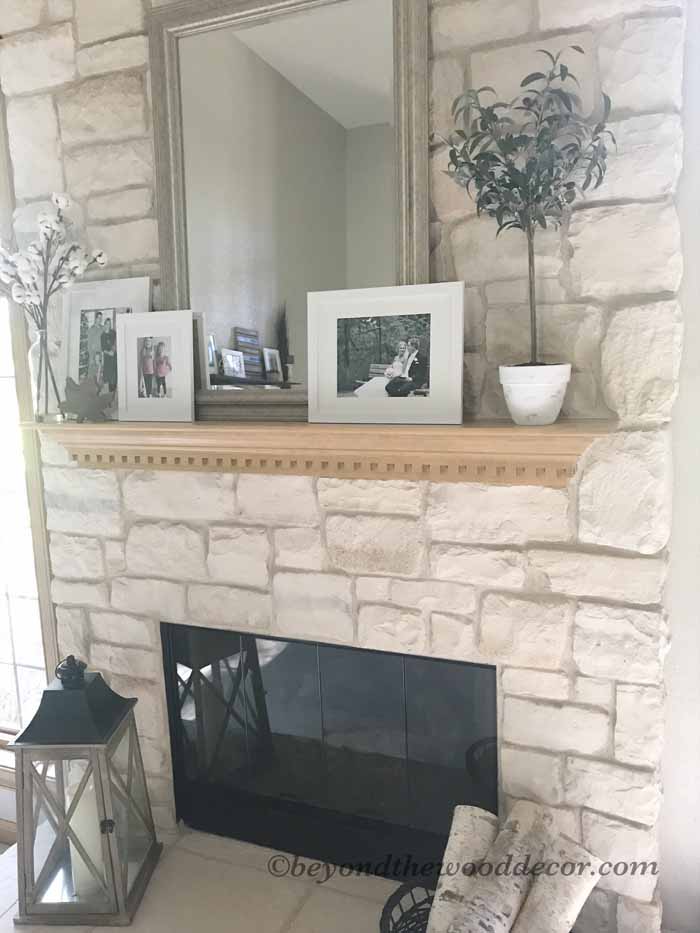
Of course I had to play around with it in other areas of my home just to give more ideas. But now I might like it better in one of these spots….oh such decisions! The struggle is real!
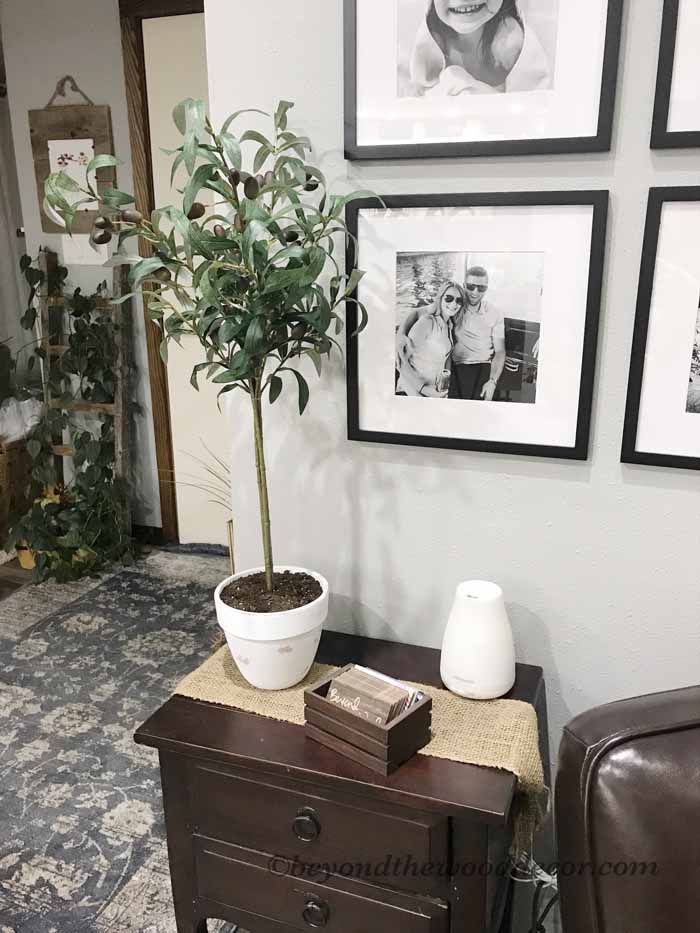

I ended up having to run to my daughters for something and because I was so excited to show her what I had just made I decided to style it at her place. I mean seriously it looks just so cute any where!

But the best was her gorgeous fireplace. I mean seriously I would LOVE her fireplace! The sun was shining so bright in there that day so it was hard getting a good photo but you get the idea!


So there ya go! A super cute inexpensive project that I hope you enjoyed! I would love to hear your comments below if you make one.
Have a great day my friends and hope I have inspired you!


Very cute. Now I know what a topiary is 😆
thank you….yes many do not know and you learn something new every day, lol!
Love this! I did not know it was that easy to make and may try one too. Thank you for sharing!
You are welcome Steph, glad you like it and thank you for the comment!
It turned out so cute! I never would have thought it could be so simple to make something like that! Definitely will have to try it 🙂
Thank you! I hope you do because it was so easy and fun and I love it in my home.
Very nice
Thank you, I appreciate it!
Love this, I will have to make one for my office!
Oh Lisa I am so happy. You will love it and it will look beautiful in your office. Have fun making it!